
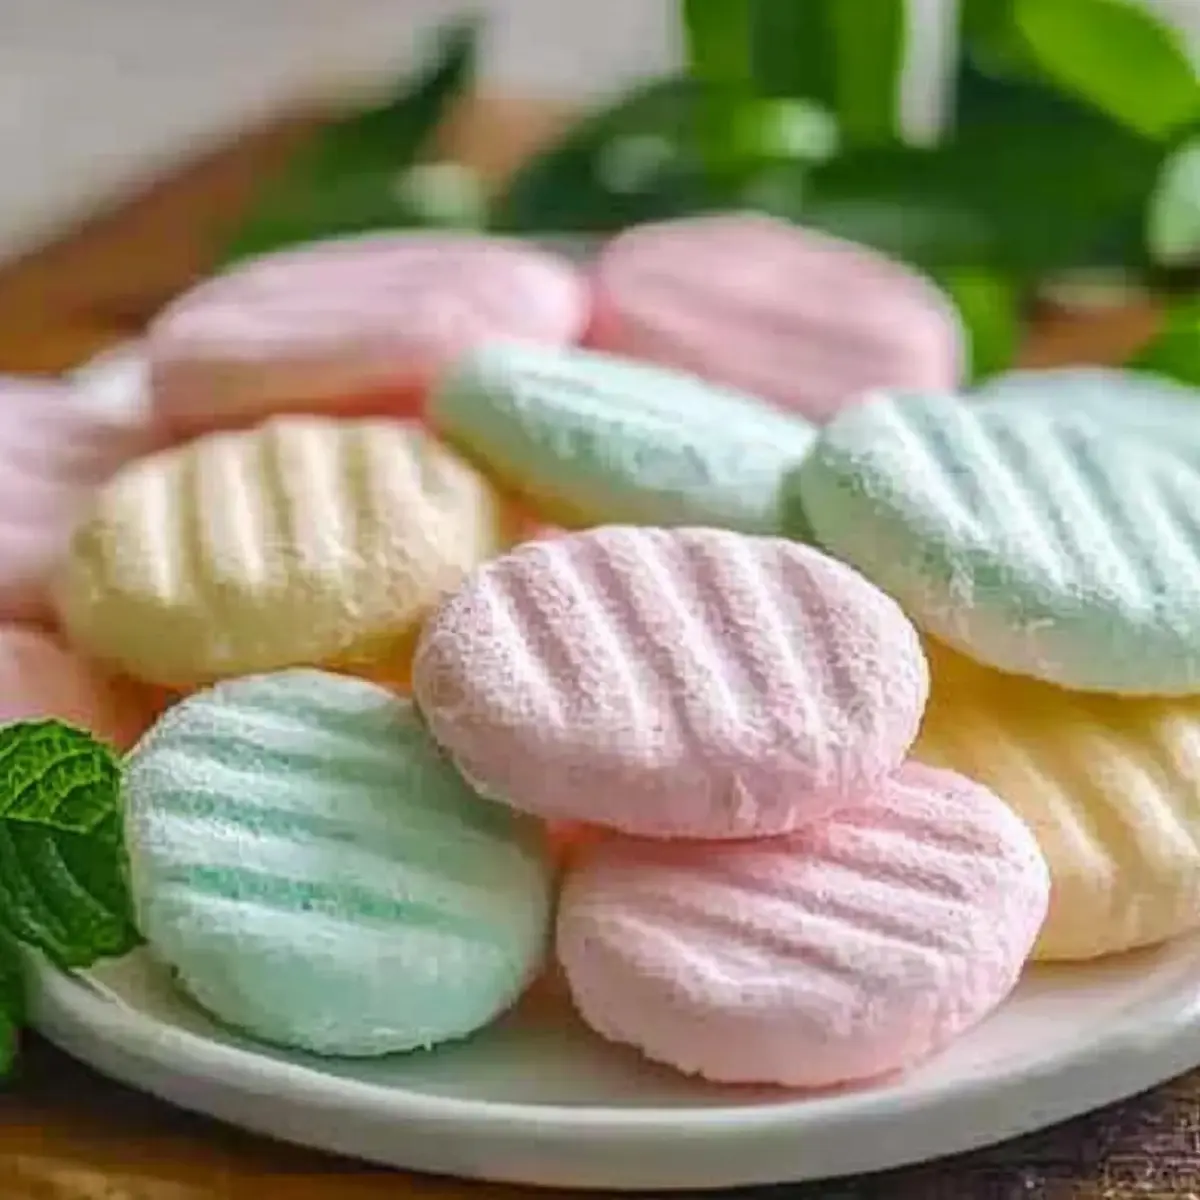
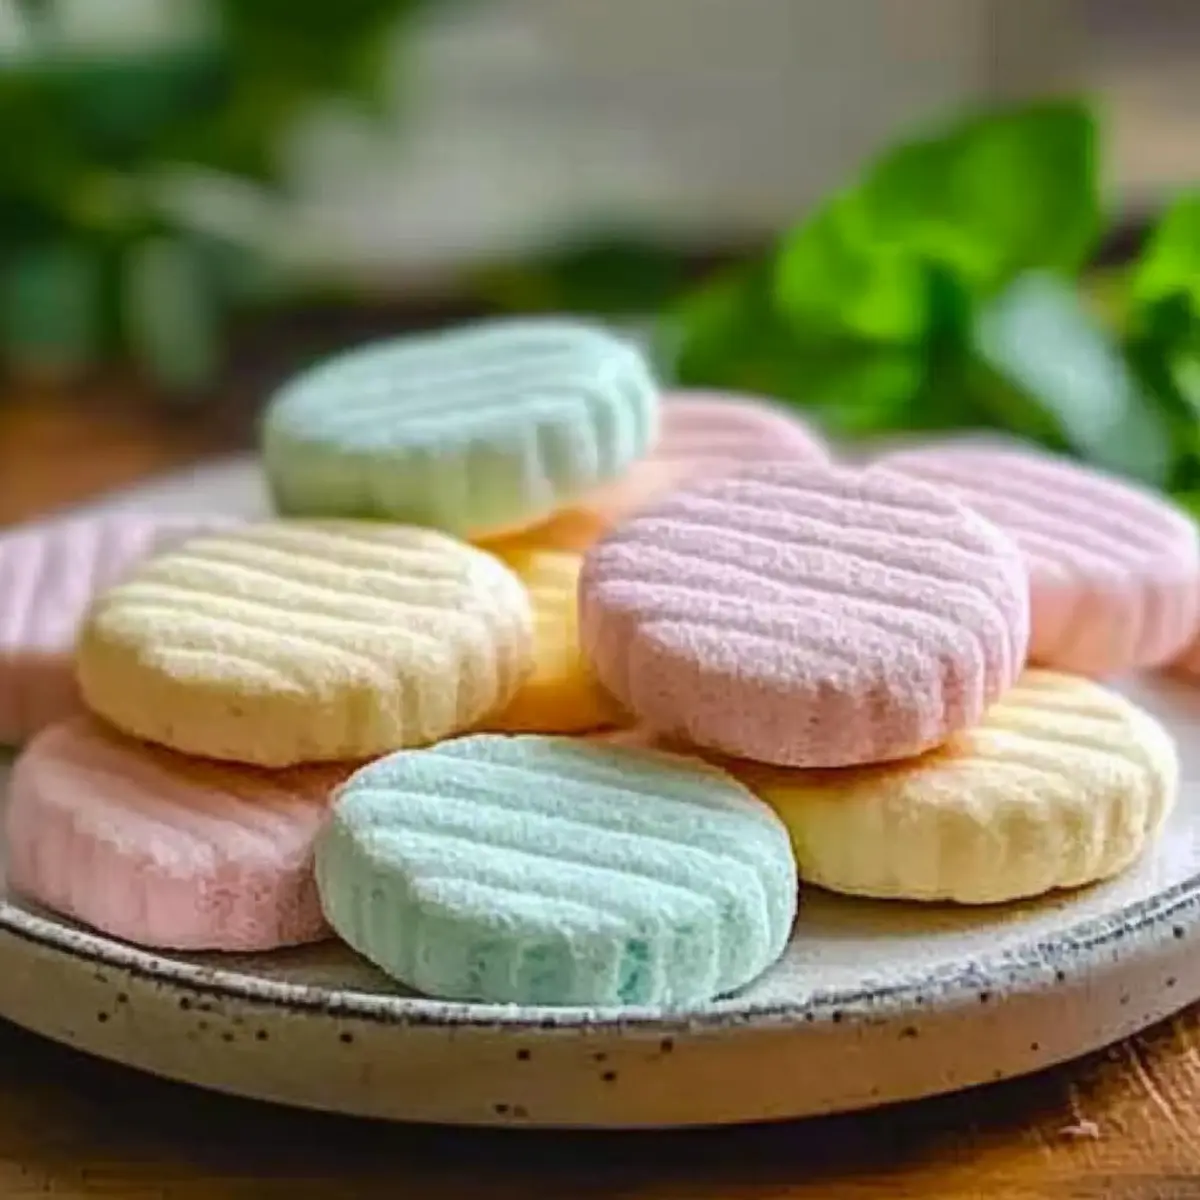
The sweet aroma of mint wafted through the air as I mixed my latest creation—Homemade Cream Cheese Mints. There’s something truly magical about these delightful little confections; they not only melt in your mouth but also add a refreshing twist to any celebration. Whether you’re hosting a wedding, a baby shower, or simply enjoying a cozy family gathering, these creamy mints are the perfect touch. With just a few simple ingredients and the freedom to customize flavors and colors, you’ll find that they are as easy to make as they are irresistible. The best part? They work beautifully as a make-ahead treat, allowing you to focus on what really matters: sharing special moments with your loved ones. Curious about how to create these delightful morsels? Let’s dive into the recipe together!
Why Make Homemade Cream Cheese Mints?
Mouthwatering Mint Flavor: These mints explode with a refreshing, cool taste that’s simply irresistible.
Effortlessly Easy: Perfect for cooks of all levels, just a few ingredients come together quickly.
Customization Galore: Switch it up with various extracts or food colors for personalized treats.
Great for Celebrations: Ideal for baby showers, weddings, or any fun gathering, adding a sweet touch to your event.
Make-Ahead Convenience: Prepare them in advance, letting you savor the moment instead of stressing last minute!
If you’re inspired to explore other delectable treats, don’t miss out on my recipes for Savory Ham Cheese or Blueberry Cream Cake.
Homemade Cream Cheese Mints Ingredients
For the Mints
• Cream Cheese – provides a creamy base for the mints; ensure it’s softened for easier mixing.
• Powdered Sugar – sweetens and helps shape the mints into a thick mixture; gradually incorporate about one cup at a time.
• Peppermint Extract – imparts that refreshing mint flavor; consider trying almond or lemon extract for a fun twist.
For Customization
• Food Coloring (optional) – use it to personalize colors that match your party theme; add a few drops as desired.
• Granulated Sugar (optional) – for rolling the mints, giving them a lovely shine and enhancing the overall appeal.
Get ready to whip up delightful homemade cream cheese mints that not only taste incredible but also add a special touch to your celebrations!
Step‑by‑Step Instructions for HOMEMADE CREAM CHEESE MINTS
Step 1: Prepare the Cream Cheese Mixture
In a large mixing bowl, combine 8 ounces of softened cream cheese with 1 teaspoon of peppermint extract. Using an electric mixer, beat the mixture on medium speed until it’s smooth and creamy, about 2-3 minutes. This creates a fluffy base for your homemade cream cheese mints, so ensure there are no lumps left behind for the best texture.
Step 2: Incorporate the Powdered Sugar
Gradually add 1 cup of powdered sugar to the cream cheese mixture, mixing on low speed to avoid a sugar cloud. Continue to blend until fully combined, then add another cup, repeating this process until you reach a thick, moldable consistency. You should see the mixture transform into a soft dough that holds its shape, perfect for forming into mints.
Step 3: Color and Flavor Customization
If desired, divide the mixture into smaller portions and add food coloring to each bowl, mixing until you achieve your desired shades. You can also experiment by incorporating different extracts, such as almond or citrus, into each portion. This step is where your creativity shines while making these homemade cream cheese mints festive and personal, matching any event theme.
Step 4: Shape the Mints
Using a small cookie scoop or your hands, scoop out small portions of the mixture, roughly 1 teaspoon each. Roll them into smooth balls or shape them into your favorite forms, like hearts or small disks, to create unique mints. Arrange the formed mints on a parchment-lined baking sheet, ensuring they have a bit of space between each piece for easy handling.
Step 5: Optional Sugar Coating
For a delightful finishing touch, roll each shaped mint in granulated sugar before placing it on the baking sheet. This optional step gives your homemade cream cheese mints an attractive shine while adding a little extra sweetness. Make sure to coat them evenly for a consistent look and taste that enhances their charm.
Step 6: Chill to Firm Up
Once all the mints are shaped and coated, place the baking sheet in the refrigerator to chill for at least 30 minutes. This allows the mints to firm up and hold their shape properly. After chilling, you’ll find they have a lovely soft yet structured texture, making them even more enjoyable for any celebration or gathering.
What to Serve with Homemade Cream Cheese Mints?
Everything about making a special meal is about those memorable bites that linger on your taste buds, isn’t it?
-
Chocolate Fondue: The rich, silky chocolate creates a delightful contrast to the cooling mint flavor, perfect for dipping. Imagine sharing this warm, indulgent experience with friends—a sweet pairing!
-
Fruit Salad: A refreshing mix of seasonal fruits adds a vibrant, juicy element to your spread. The natural sweetness and bright flavors provide a lovely balance to the mints.
-
Coffee or Tea: A warm cup of coffee or herbal tea enhances the refreshing mint aftertaste and is the ideal companion for a relaxing afternoon treat.
-
Mini Cheesecakes: Creamy cheesecakes offer a luxurious, rich texture that beautifully complements the lightness of homemade cream cheese mints, creating a delightful dessert table experience.
-
Lemon Bars: The zesty tanginess of lemon bars can effectively contrast the sweet and cool flavors of the mints, making for an exciting flavor journey.
-
Sparkling Water: A bubbly drink paired with the creamy sweetness of the mints can elevate any occasion, keeping things light and festive.
Each of these pairings not only enhances the overall experience but also creates connections through shared flavors and delightful memories!
Make Ahead Options
These Homemade Cream Cheese Mints are perfect for busy cooks looking to save time without sacrificing flavor! You can prepare the mint mixture up to 24 hours in advance, blending the cream cheese, powdered sugar, and flavorings, then refrigerate it in an airtight container. When you’re ready to serve, simply scoop and shape the mints, rolling them in granulated sugar for that extra touch of sweetness and shine. Alternatively, you can form the mints and freeze them for up to 3 months; just ensure they’re lined with parchment paper to prevent sticking. To maintain their delightful texture and prevent any moisture loss, just let them chill in the fridge briefly before serving. Enjoy your homemade creations without the last-minute stress!
Expert Tips for Homemade Cream Cheese Mints
-
Room Temperature Cheese: Ensure your cream cheese is at room temperature for smoother blending and a creamier texture in your HOMEMADE CREAM CHEESE MINTS.
-
Gradual Sugar Addition: Add powdered sugar slowly, one cup at a time, to avoid lumps and create a seamless blend that holds its shape well.
-
Chill Time Matters: Don’t rush the chilling process; letting the mints chill for at least 30 minutes ensures they firm up nicely.
-
Creative Flavor Swaps: Experiment with various extracts like almond, citrus, or even chocolate to add your unique twist to these mints.
-
Dust for Shine: If rolling in granulated sugar, do so right before serving to maintain that beautiful, shiny finish without clumping.
How to Store and Freeze Homemade Cream Cheese Mints
Fridge: Store your homemade cream cheese mints in an airtight container in the refrigerator for up to 2 weeks to maintain freshness and texture.
Freezer: For longer storage, freeze the mints by layering them between parchment paper in an airtight container. They’ll keep well for up to 3 months without losing flavor or quality.
Reheating: When you’re ready to enjoy frozen mints, allow them to thaw in the refrigerator for a few hours. They can be enjoyed straight from the fridge for the best texture.
Avoid Freezing Flavors with Fruits: If adding fruit-based extracts, be mindful that they may not freeze as well. It’s best to stick with classic flavors for freezing homemade cream cheese mints.
Variations & Substitutions for HOMEMADE CREAM CHEESE MINTS
Feel free to get creative with your homemade cream cheese mints; there are endless possibilities to elevate these delightful treats!
-
Chocolate Twist: Add 2 tablespoons of cocoa powder for a rich, chocolatey flavor that pairs beautifully with the mint.
-
Almond Extract: Swap peppermint extract for almond for a nutty, sweet undertone that offers a new layer of depth to your mints.
-
Citrus Zest: Grate some lemon or orange zest into your mixture for a zesty twist that brightens the mint flavor beautifully.
-
Dairy-Free Version: Substitute cream cheese with a dairy-free cream cheese alternative for a vegan-friendly take on these delightful treats.
-
Colorful Fun: Use natural food coloring or juices for bright and cheerful mints that match the theme of your event—think beet juice for pink or spirulina for green!
-
Spicy Kick: Add a pinch of cinnamon or cayenne for a surprising heat that brings a unique flair and warmth to each mint.
-
Herb Infusion: Incorporate finely chopped fresh mint leaves into the mixture for a more robust mint flavor and delightful texture.
-
Mix and Match: Create a variety by making half your mints peppermint and half citrus for a colorful assortment that caters to different tastes.
Elevate your celebrations further and try pairing these mints with lovely desserts like Boston Cream Pie Cookies or serve alongside refreshing treats like Shortcake Ice Cream!
Homemade Cream Cheese Mints Recipe FAQs
What type of cream cheese should I use?
Absolutely! Use full-fat cream cheese for the best consistency and flavor in your homemade cream cheese mints. Make sure it’s softened at room temperature for easy mixing, ensuring a smooth and creamy mixture.
How long can I store these mints?
You can store your homemade cream cheese mints in an airtight container in the refrigerator for up to 2 weeks. This keeps them fresh and preserves their delightful texture, so you can enjoy them at your leisure!
Can I freeze homemade cream cheese mints?
Yes! To freeze your mints, layer them between sheets of parchment paper in an airtight container. This method prevents them from sticking together and keeps their flavor intact. They will last up to 3 months in the freezer. When you’re ready to enjoy, simply thaw them in the refrigerator for a few hours, and they’ll be perfect!
What if my mints turn out too soft?
No worries! If your mints are too soft, it might be due to insufficient chilling time or an excess of cream cheese. I recommend placing them back in the refrigerator for an additional 30 minutes to firm up. If you’re still having issues, consider adding a bit more powdered sugar, mixing gradually until the desired consistency is achieved.
Can pets eat homemade cream cheese mints?
It’s best to avoid giving these mints to pets. Homemade cream cheese mints contain sugar and extracts, which may not be safe for animals. If you’re worried about allergies or dietary restrictions, stick to safe treats designed specifically for pets.
Is it safe to use food coloring in these mints?
Very! The food coloring is safe to use, but I recommend opting for natural food colorings if you want a healthier alternative. Just a few drops can transform the look of your homemade cream cheese mints, allowing you to customize them to match any celebration theme!
Homemade Cream Cheese Mints That Melt in Your Mouth
Ingredients
Equipment
Method
- In a large mixing bowl, combine cream cheese with peppermint extract. Beat until smooth and creamy, about 2-3 minutes.
- Gradually add powdered sugar while mixing on low speed until fully combined and a thick dough forms.
- Divide mixture and add food coloring as desired. Experiment with different extracts for unique flavors.
- Scoop out small portions, roll into balls or shape as desired, and place on a parchment-lined baking sheet.
- Optionally, roll each mint in granulated sugar for a shiny finish before placing on the baking sheet.
- Chill in the refrigerator for at least 30 minutes to firm up before serving.
Leave a Reply