
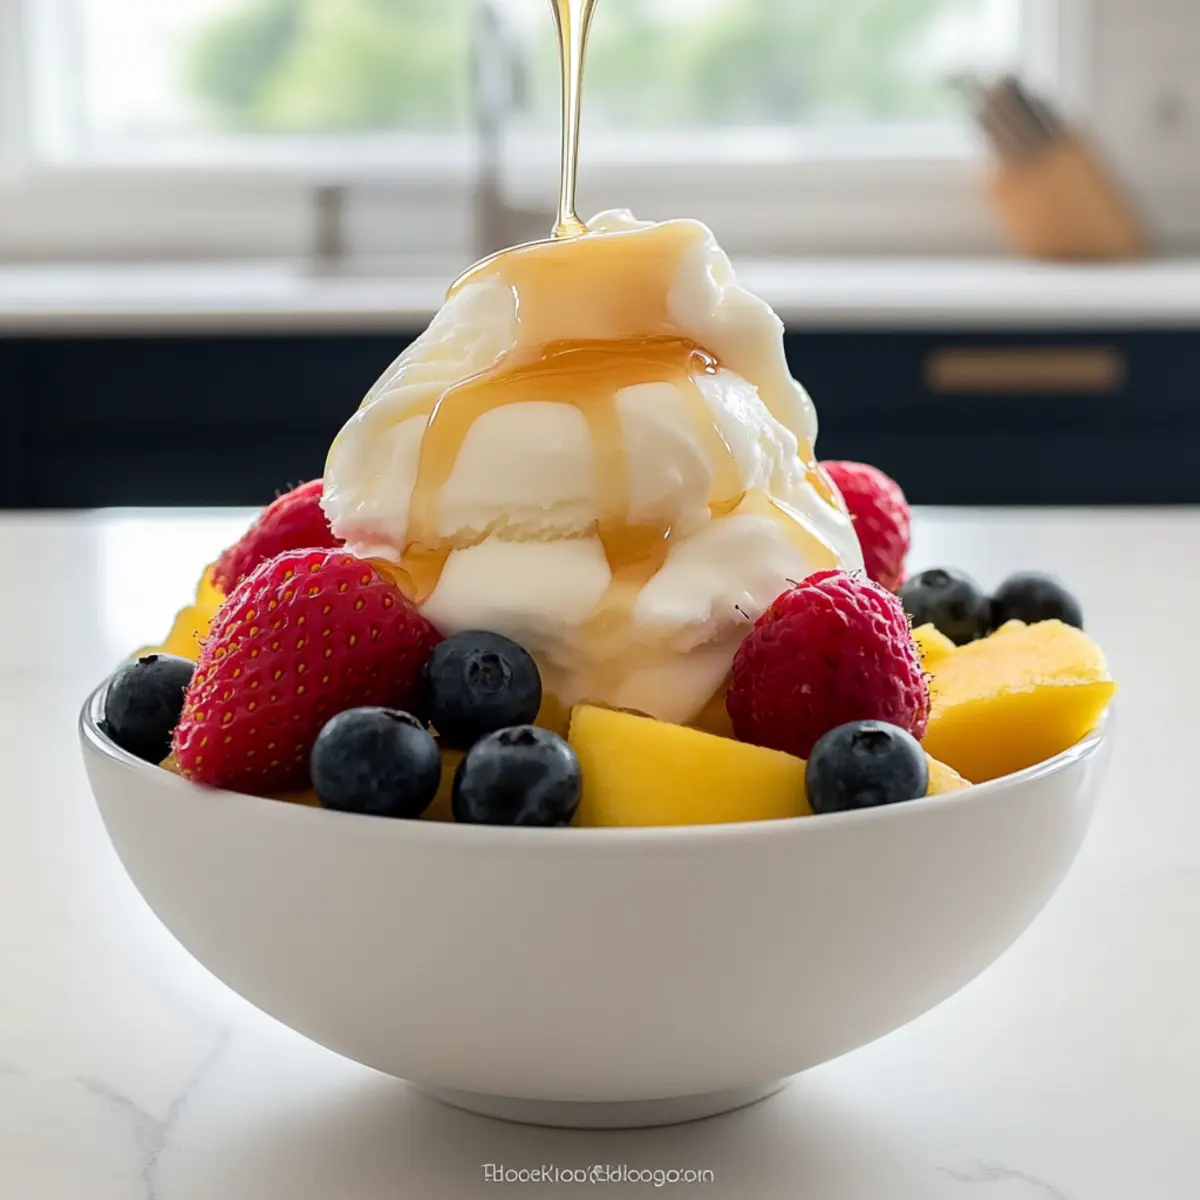
As I stood in my kitchen, the enticing aroma of vanilla wafted through the air, signaling that a delicious treat was about to take shape. If you’re like me, you often crave something sweet but want to keep it light and guilt-free. That’s where this Easy Homemade Frozen Yogurt comes into play—it’s not only a creamy, tangy delight but also a healthier alternative to the store-bought varieties. The best part? It’s customizable, meaning you can tailor each batch to your taste with a variety of add-ins. Whether it’s a scoop topped with fresh fruit or swirls of chocolate, this delightful dessert is perfect for any occasion. With just a few simple ingredients and minimal prep time, you can whip up a refreshing treat that the whole family will love. Ready to indulge your taste buds without the guilt? Let’s dive in!
Why make homemade yogurt ice cream?
Creamy texture that rivals store-bought: This Easy Homemade Frozen Yogurt achieves a rich, velvety mouthfeel using simple ingredients.
Customizable to your tastes: Easily adjust the flavors with fresh fruit purees, chocolate, or nuts—perfect for personalizing your dessert experience.
Quick preparation means less time in the kitchen: With minimal prep and no special equipment needed, you’ll have a delicious treat ready in no time.
Healthier than traditional ice cream: Lower in calories and packed with protein from Greek yogurt, this dessert satisfies your sweet cravings guilt-free.
Family-friendly fun: Get everyone involved in creating their own flavors, making it a delightful experience for kids and adults alike.
This recipe is not just about creating a delicious sweet treat; it’s about bringing joy to your kitchen and table! If you love other sweet creations, consider checking out my Blueberry Cream Cake or the indulgent Boston Cream Pie Cookies.
Homemade Yogurt Ice Cream Ingredients
Making your own frozen yogurt ice cream is a breeze with these simple ingredients!
For the Base
- Greek Yogurt – Full-fat is best for a creamy consistency and mouthfeel.
- Honey or Maple Syrup – Adjust to your preference for sweetness; both add a natural flavor.
- Vanilla Extract – A splash enhances the overall taste and adds warmth.
- Sea Salt – Just a pinch balances the flavors and brings out the sweetness.
For Optional Flavor Additions
- Fresh Fruit Puree – Use strawberries, mango, or peaches for a fruity twist that brightens the yogurt.
- Mix-ins – Consider chocolate chips, crushed cookies, or chopped nuts for added texture and personalization.
With these simple ingredients, you’re well on your way to crafting your very own homemade yogurt ice cream that will surely impress!
Step‑by‑Step Instructions for Homemade Yogurt Ice Cream
Step 1: Prepare the Base Mixture
In a large mixing bowl, combine 2 cups of full-fat Greek yogurt, 1/3 cup of honey or maple syrup, 1 teaspoon of vanilla extract, and a pinch of sea salt. Whisk until the mixture is smooth and creamy, with no lumps remaining. The yogurt should be thick and velvety, ready to transform into your delightful Homemade Yogurt Ice Cream.
Step 2: Add Flavor Variations
If desired, create a fruity twist by gently folding in 1/2 cup of fresh fruit puree, such as strawberries or mango. Aim for a marbled effect instead of fully blending the puree in, which allows for beautiful ribbons of color and flavor throughout the yogurt. This step adds a refreshing zing to your Homemade Yogurt Ice Cream.
Step 3: Chill the Mixture
Cover the bowl tightly with plastic wrap and refrigerate the mixture for at least 1 hour. This chilling step allows the flavors to meld beautifully, resulting in a more flavorful ice cream. When ready, the mixture should be cool and thick, preparing it for the freezing process ahead.
Step 4: Freeze the Mixture
Transfer the chilled yogurt mixture to a shallow, freezer-safe container. If you have an ice cream maker, churn according to the manufacturer’s instructions for about 20-25 minutes or until it reaches a soft-serve consistency. If you don’t have an ice cream maker, place the mixture in the freezer for 2 hours.
Step 5: Stir to Break Ice Crystals
After 2 hours in the freezer, open the container and stir the mixture vigorously with a fork or spatula. This helps break up ice crystals that may have formed. Return it to the freezer, and repeat this vigorous stirring every 30 minutes for 2-3 cycles until you achieve a smooth, soft-serve texture for your Homemade Yogurt Ice Cream.
Step 6: Incorporate Mix-Ins
Once you reach the desired soft-serve consistency, it’s time to fold in any additional mix-ins you like, such as chocolate chips, crushed cookies, or chopped nuts. Stir gently to ensure even distribution without deflating the texture. This step allows you to add your personal touch to the Homemade Yogurt Ice Cream.
Step 7: Final Freezing
Cover the container tightly and freeze the yogurt for another 2-3 hours until firm. This final freezing step ensures a scoopable texture that’s perfect for serving. When ready, the Homemade Yogurt Ice Cream should be firm yet creamy, ideal for satisfying your sweet cravings.
Step 8: Serve and Enjoy
Let the frozen yogurt sit at room temperature for 5-10 minutes before scooping, which will make it easier to serve. Use an ice cream scoop to dish up generous portions into bowls or cones. Top with fresh fruit, a drizzle of honey, or any favorite toppings, and indulge in your delicious Homemade Yogurt Ice Cream!
Expert Tips for Homemade Yogurt Ice Cream
-
Choose Quality Yogurt: Use full-fat Greek yogurt for the richest, creamiest texture. Low-fat options may lead to an icy result.
-
Sweetness Check: Start with less honey or maple syrup. You can always add more after tasting; this helps avoid an overly sweet treat.
-
Chill for Best Results: Don’t skip the chilling step! A cold mixture freezes smoother, reducing ice crystal formation in your homemade yogurt ice cream.
-
Stir Often: If you aren’t using an ice cream maker, remember to stir every 30 minutes during freezing to break up any ice crystals.
-
Get Creative: Experiment with different flavors; try adding citrus zest or spices for a unique twist on your homemade yogurt ice cream.
How to Store and Freeze Homemade Yogurt Ice Cream
Airtight Container: Store your Homemade Yogurt Ice Cream in an airtight container to prevent ice crystals from forming and maintain its creamy texture.
Freezer Duration: Enjoy your frozen yogurt within 2-3 months for the best flavor and texture, though it can last longer if properly stored.
Thawing Tip: When ready to enjoy, let it sit at room temperature for 5-10 minutes before scooping to soften. This makes serving easier and helps maintain the creamy consistency.
Avoid Frequent Opening: Limit opening the container to preserve the cold temperature, which helps your yogurt ice cream stay smooth and delicious.
What to Serve with Easy Homemade Frozen Yogurt
Treat yourself to a delightful homemade dessert experience that’s fresh, satisfying, and effortlessly customizable.
-
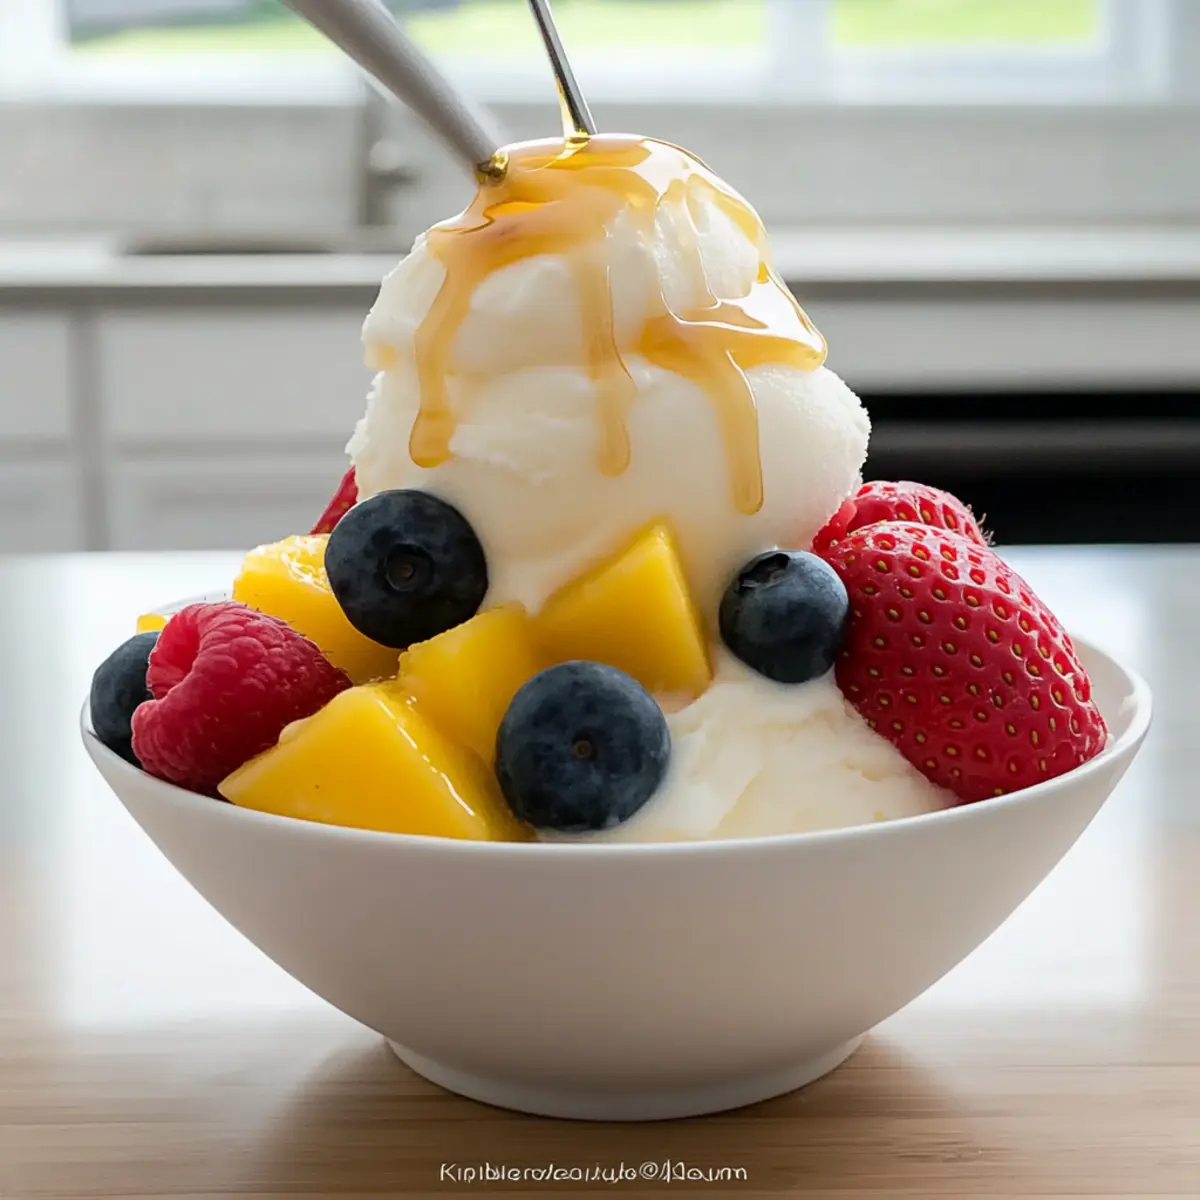
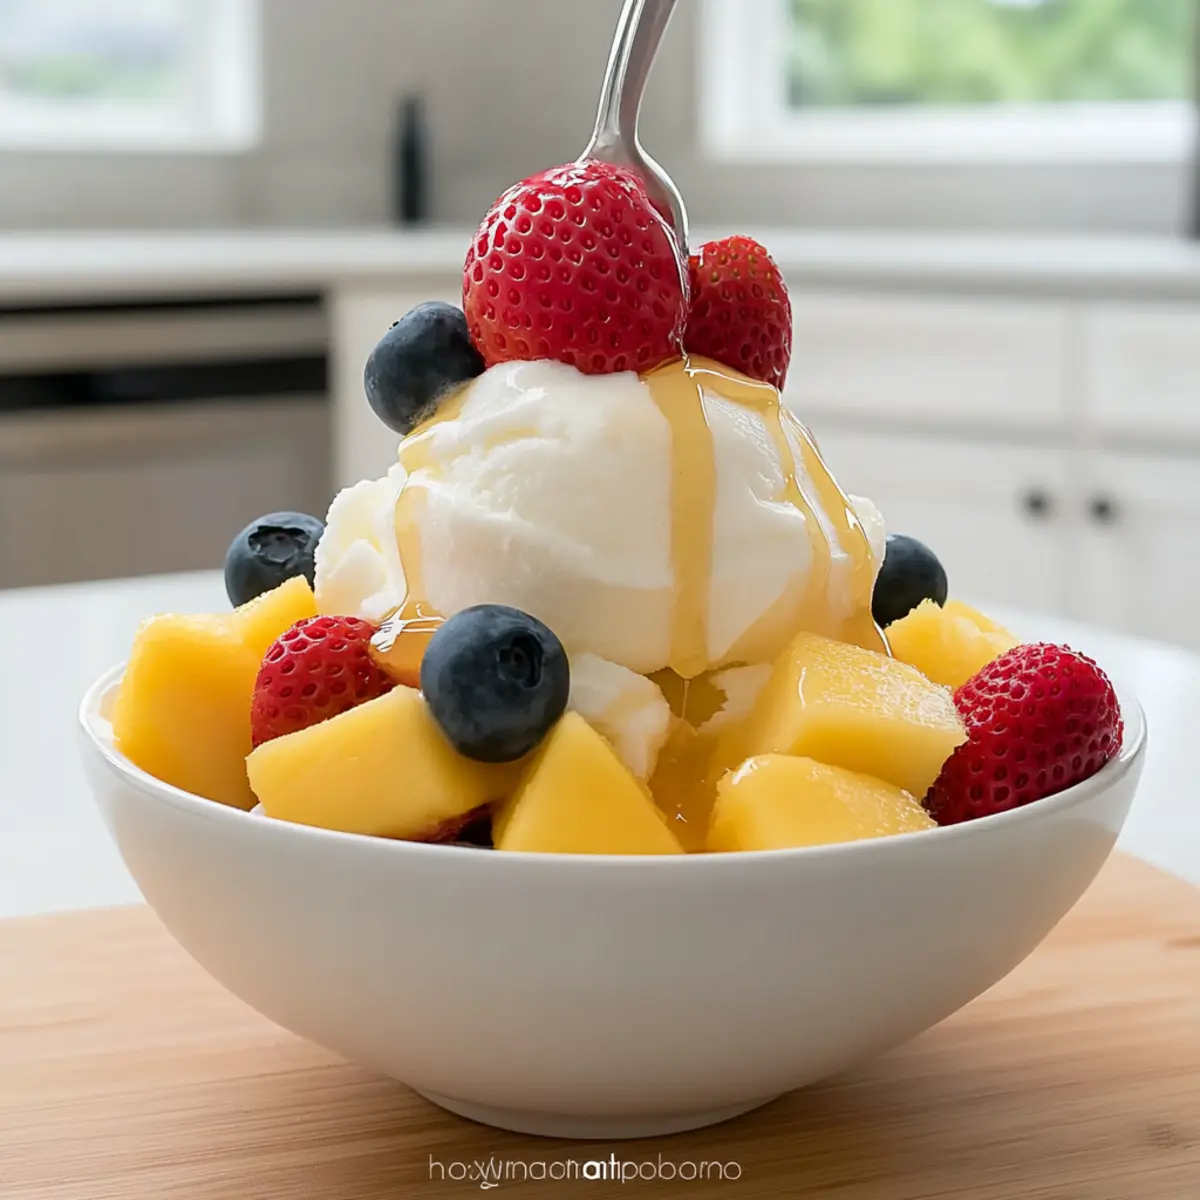
Fresh Fruit Medley: Bright, colorful fruits like strawberries, blueberries, and peaches add a refreshing contrast to the creamy yogurt, enhancing every scoop.
-
Chocolate Drizzle: A simple warm chocolate sauce drizzled over your frozen yogurt elevates the dish, adding rich sweetness and a decadent touch.
-
Granola Crunch: The crunchy texture of granola pairs beautifully with the creamy yogurt, providing a delightful contrast in each bite while adding a wholesome element.
-
Nutty Toppings: Chopped nuts such as almonds or walnuts can introduce a satisfying crunch, along with healthy fats that make the dessert even more fulfilling.
-
Coconut Flakes: Toasted coconut adds an exotic flair, imparting a sweet, chewy texture that complements the yogurt’s creaminess.
-
Homemade Fruit Sauce: A quick homemade berry or mango sauce brings a vibrant burst of flavor, making each spoonful a colorful adventure.
-
Refreshing Mint Sprigs: A sprig of fresh mint not only garnishes the dessert beautifully but also introduces a cooling effect that makes it even more refreshing.
-
Herbal Iced Tea: A glass of chilled herbal tea creates a light, refreshing drink option that pairs harmoniously with the frozen yogurt’s sweetness.
Feel free to mix and match these suggestions for a delightful sweet experience that everyone will adore!
Homemade Yogurt Ice Cream Variations
Feel free to unleash your creativity with these delightful twists and substitutions to make this frozen yogurt truly yours!
-
Dairy-Free: Swap Greek yogurt with a plant-based yogurt alternative for a creamy, non-dairy version. Almond or coconut yogurt pairs wonderfully with fruity additions.
-
Vegan Sweetener: Replace honey with agave syrup or maple syrup for a fully vegan-friendly dessert. These sweeteners maintain the delicious flavor while keeping it plant-based.
-
Fruit Flavor Boost: Add a splash of lemon or lime juice when incorporating fruit puree for an exciting zing. You might even create a refreshing berry-lime yogurt that’s perfect for summer!
-
Chocolate Lovers: Try folding in cocoa powder or melted dark chocolate for a rich, chocolatey experience. This vibrant twist is perfect for those indulgent days.
-
Nutty Crunch: Toss in your favorite chopped nuts like almonds or pistachios for an added crunch. The nutty flavor perfectly complements the creamy yogurt base.
-
Spicy Kick: Add a hint of ground cinnamon or even a pinch of cayenne pepper for a surprising yet delightful warmth. This twist brings a fabulous depth to your dessert.
-
Cold Brew Twist: Infuse coffee flavor by adding cold brew concentrate to the base mixture. This transforms your yogurt ice cream into a delightful coffee treat!
-
Extra Creamy: For an ultra-creamy texture, blend in a scoop of softened cream cheese to the yogurt mixture. This adds richness that will elevate your frozen treat.
Whichever way you choose to customize your Homemade Yogurt Ice Cream, make sure to enjoy every delicious bite. If you love experimenting with refreshing flavors, why not explore making a Creamy Garlic Shrimp with Spinach or a bright, zesty Zucchini Lemon Pasta? Happy cooking!
Make Ahead Options
These Easy Homemade Frozen Yogurt treats are perfect for meal prep, ensuring you have a delightful dessert ready to enjoy at a moment’s notice! You can mix the yogurt base and chill it in the refrigerator up to 24 hours in advance, sealing in the flavors. Additionally, fresh fruit purees can be prepared and stored in an airtight container in the fridge for up to 3 days. When it’s time to serve, simply freeze the base mixture, stirring every 30 minutes as needed until you reach the ideal soft-serve texture. By prepping these components ahead, you’ll save valuable time during busy weeknights, allowing for a quick and satisfying dessert that’s just as delicious as made fresh!
Easy Homemade Frozen Yogurt Recipe FAQs
What type of Greek yogurt should I use?
For the creamiest texture, I highly recommend using full-fat Greek yogurt. The fat content helps to prevent iciness, resulting in a rich and velvety yogurt ice cream. If you’re looking for a lighter option, though, you can experiment with low-fat varieties, but be prepared for a difference in texture.
How long can I store homemade yogurt ice cream in the freezer?
Store your Homemade Yogurt Ice Cream in an airtight container for up to 2-3 months. To keep the best possible texture, try to consume it within the first week, as that is when the creaminess is at its peak. Always remember to cover it tightly to avoid ice crystals forming on the surface.
Can I freeze the yogurt mixture without an ice cream maker?
Absolutely! If you don’t have an ice cream maker, after transferring the yogurt mixture to your freezer-safe container, freeze it for 2 hours. Then, take it out and stir vigorously with a fork or spatula to break up any ice crystals. Repeat this process every 30 minutes for 2-3 cycles until you achieve a soft-serve texture.
What should I do if my yogurt ice cream is too icy?
If your Homemade Yogurt Ice Cream turns out icy, it may be due to insufficient stirring if you’re not using an ice cream maker or skipping the chilling step. To troubleshoot this, ensure you are stirring the mixture every 30 minutes while it’s freezing. Next time, ensure to chill the yogurt mixture for at least an hour prior to freezing—this helps achieve a smoother texture.
Are there any dietary considerations I should be aware of?
Yes! This recipe can be easily adjusted to suit various dietary needs. If you have dairy allergies, consider using a plant-based yogurt alternative. Additionally, agave syrup can replace honey for a vegan option. Always check your other mix-ins for potential allergens if you’re serving guests.
How do I make fruit puree for the yogurt?
Making fruit puree is simple! Just take about 1 cup of fresh fruit (like strawberries or mango), blend it until smooth, and strain if you want a seedless option. You can also add a bit of honey or maple syrup to sweeten it further if desired. Gently fold the puree into your yogurt mixture for delightful fruit ribbons in your Homemade Yogurt Ice Cream!

Creamy Homemade Yogurt Ice Cream to Satisfy Your Sweet Cravings
Ingredients
Equipment
Method
- In a large mixing bowl, combine 2 cups of full-fat Greek yogurt, 1/3 cup of honey or maple syrup, 1 teaspoon of vanilla extract, and a pinch of sea salt. Whisk until smooth and creamy.
- Gently fold in 1/2 cup of fresh fruit puree for a fruity twist, aiming for a marbled effect.
- Cover tightly with plastic wrap and refrigerate for at least 1 hour.
- Transfer to a shallow, freezer-safe container. If using an ice cream maker, churn according to instructions for 20-25 minutes. If not, freeze for 2 hours.
- After 2 hours, stir the mixture vigorously to break ice crystals. Return to freezer and repeat every 30 minutes for 2-3 cycles.
- Fold in any additional mix-ins like chocolate chips or nuts once soft-serve consistency is reached.
- Cover and freeze for another 2-3 hours until firm.
- Let sit at room temperature for 5-10 minutes before scooping, then serve and enjoy.
Leave a Reply