

Introduction to Milk Mochi
There’s something magical about desserts that bring back memories. Milk mochi, with its chewy texture and sweet flavor, reminds me of my childhood visits to the local Japanese market. It’s a delightful treat that’s not only easy to make but also perfect for impressing friends or family. Whether you’re looking for a quick solution for a busy day or a fun project to tackle on the weekend, this milk mochi recipe is your answer. With just a few simple ingredients, you can create a delicious dessert that will have everyone asking for seconds!
Why You’ll Love This Milk Mochi
This milk mochi recipe is a game-changer for anyone craving a sweet treat without the fuss. It’s incredibly easy to whip up, taking just 15 minutes from start to finish. The chewy texture and rich flavor will have your taste buds dancing. Plus, it’s a versatile dessert that can be customized with your favorite fruits or fillings, making it a hit for any occasion!
Ingredients for Milk Mochi
Gathering the right ingredients is the first step to creating your delicious milk mochi. Here’s what you’ll need:
- Sweet rice flour (mochi flour): This is the star of the show! It gives mochi its signature chewy texture. Look for it in Asian grocery stores or online.
- Milk: Adds creaminess and sweetness. You can use whole, low-fat, or even non-dairy alternatives like almond or coconut milk for a twist.
- Sugar: Sweetens the mochi. Feel free to adjust the amount based on your taste preference.
- Vanilla extract: A splash of this enhances the flavor, making your mochi even more delightful.
- Cornstarch: Used for dusting to prevent sticking. It’s essential for handling the mochi easily.
- Salt: Just a pinch balances the sweetness and enhances the overall flavor.
For those looking to get creative, consider adding pureed fruit like strawberries or mangoes for a fruity twist. Alternatively, you can fill your mochi with sweetened red bean paste or even ice cream for a delightful surprise!
Exact measurements for these ingredients can be found at the bottom of the article, ready for printing.
How to Make Milk Mochi
Making milk mochi is a straightforward process that anyone can master. Follow these simple steps, and you’ll be enjoying this delightful dessert in no time!
Step 1: Prepare the Dry Ingredients
Start by grabbing a large mixing bowl. Combine the sweet rice flour, sugar, and salt. Mix them well, ensuring there are no lumps. This step is crucial for a smooth texture. Trust me, no one wants a lumpy mochi!
Step 2: Mix in the Wet Ingredients
Next, gradually add the milk and vanilla extract to your dry mixture. Stir it all together until you achieve a smooth, creamy batter. The aroma of vanilla will start to fill your kitchen, and it’s just the beginning of the deliciousness!
Step 3: Microwave the Mixture
Pour the mixture into a microwave-safe dish, spreading it evenly. Cover the dish with a damp paper towel to keep the moisture in. Microwave on high for 2 minutes. This is where the magic begins, so don’t wander too far!
Step 4: Stir and Cook Again
Carefully remove the dish from the microwave—it’ll be hot! Stir the mixture well, then return it to the microwave. Cook for an additional 1-2 minutes until the mochi thickens and becomes slightly translucent. You’re almost there!
Step 5: Cool and Knead the Mochi
Dust a clean surface with cornstarch. Pour the cooked mochi onto the surface and let it cool for about 10 minutes. Once it’s cool enough to handle, dust your hands with cornstarch and knead the mochi gently for about a minute. This step helps develop that perfect chewy texture!
Step 6: Cut and Dust the Mochi
Finally, it’s time to cut the mochi! Use a knife or cookie cutters to create fun shapes. Dust each piece with more cornstarch to prevent sticking. Now, you have beautiful, bite-sized pieces of milk mochi ready to be enjoyed!
Tips for Success
- Make sure to mix the dry ingredients thoroughly to avoid lumps.
- Use a microwave-safe dish that’s large enough to allow the mochi to expand.
- Keep a damp paper towel handy to cover the dish while microwaving.
- Don’t skip the cornstarch dusting; it’s key to preventing stickiness.
- Experiment with flavors by adding extracts or fillings to customize your mochi!
Equipment Needed
- Mixing bowl: A large bowl for combining ingredients. Any bowl will do, but glass or ceramic works best.
- Microwave-safe dish: Essential for cooking the mochi. A glass or silicone dish is ideal.
- Spatula: For stirring the mixture. A silicone spatula is great for scraping every bit.
- Knife or cookie cutters: To cut the mochi into pieces. Use any sharp knife or fun-shaped cutters.
Variations of Milk Mochi
- Fruit-Infused Mochi: Add 1/2 cup of pureed fruit like strawberries, mangoes, or blueberries to the batter for a refreshing twist.
- Chocolate Mochi: Mix in 2 tablespoons of cocoa powder for a rich chocolate flavor that chocolate lovers will adore.
- Matcha Mochi: Incorporate 1-2 teaspoons of matcha powder for a vibrant green color and a unique earthy taste.
- Nutty Delight: Fold in chopped nuts like almonds or walnuts for added crunch and flavor.
- Vegan Option: Substitute regular milk with almond, coconut, or oat milk to make a delicious vegan version.
- Filled Mochi: Create a surprise inside by filling the mochi with sweetened red bean paste, ice cream, or even fruit preserves.
Serving Suggestions for Milk Mochi
- Pair your milk mochi with a scoop of vanilla ice cream for a delightful contrast in texture.
- Serve with fresh fruit like strawberries or mango slices for a refreshing touch.
- Drizzle with chocolate or caramel sauce for an indulgent treat.
- Present on a decorative plate, dusted with extra cornstarch for a professional look.
FAQs about Milk Mochi
What is milk mochi?
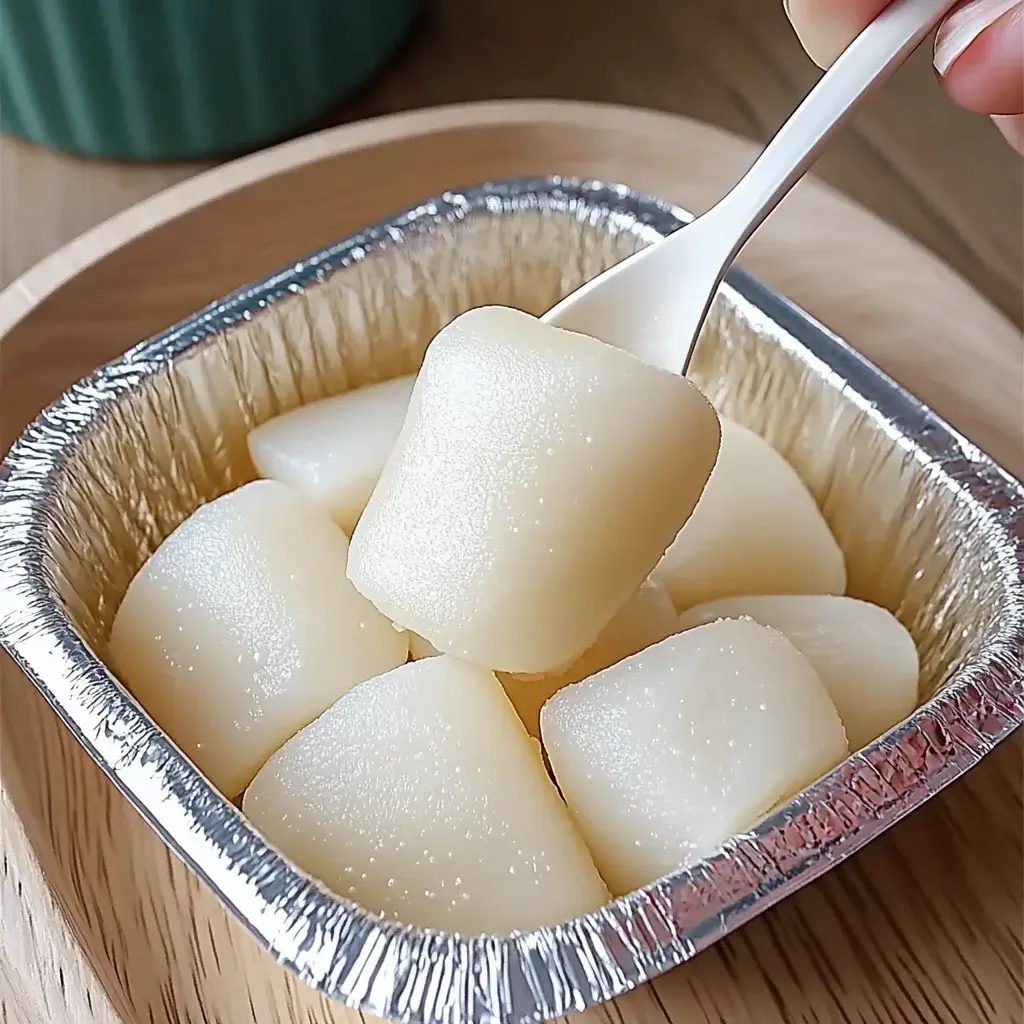
Milk mochi is a delightful Japanese dessert made from sweet rice flour, milk, and sugar. It has a chewy texture and can be enjoyed plain or filled with various sweet fillings. It’s a fun treat that’s easy to make at home!
Can I make milk mochi in advance?
Absolutely! You can prepare milk mochi ahead of time and store it in an airtight container. Just be sure to dust the pieces with cornstarch to prevent sticking. It’s best enjoyed within a few days for optimal freshness.
Is milk mochi gluten-free?
Yes! Since milk mochi is made with sweet rice flour, it is naturally gluten-free. Just double-check any additional ingredients you might use, like fillings or toppings, to ensure they are also gluten-free.
Can I customize the flavors of milk mochi?
Definitely! You can add pureed fruits, cocoa powder, or matcha to the batter for different flavors. Filling the mochi with sweetened red bean paste or ice cream is another delicious way to customize your treat!
How do I store leftover milk mochi?
Store any leftover milk mochi in an airtight container at room temperature for up to three days. If you want to keep it longer, consider refrigerating it, but be aware that the texture may change slightly.
Final Thoughts
Creating milk mochi is more than just whipping up a dessert; it’s about crafting a moment of joy. The chewy texture and sweet flavor can transport you back to simpler times, evoking memories of family gatherings and shared laughter. This recipe is a delightful way to impress your loved ones or simply treat yourself after a long day. With its versatility, you can experiment with flavors and fillings, making each batch uniquely yours. So, roll up your sleeves, gather your ingredients, and dive into the world of milk mochi. Happiness is just a bite away!
Milk Mochi: Discover This Easy, Delicious Recipe!
Ingredients
Method
- In a large mixing bowl, combine the sweet rice flour, sugar, and salt. Mix well to ensure there are no lumps.
- Gradually add the milk and vanilla extract to the dry ingredients, stirring until the mixture is smooth and well combined.
- Pour the mixture into a microwave-safe dish, spreading it evenly.
- Cover the dish with a damp paper towel to prevent drying out. Microwave on high for 2 minutes.
- Carefully remove the dish (it will be hot) and stir the mixture. Return it to the microwave and cook for an additional 1-2 minutes, or until the mochi is thick and slightly translucent.
- Dust a clean surface with cornstarch. Pour the cooked mochi onto the surface and let it cool for about 10 minutes.
- Once cooled, dust your hands with cornstarch and knead the mochi gently for a minute.
- Cut the mochi into small squares or use cookie cutters for fun shapes. Dust each piece with more cornstarch to prevent sticking.
Nutrition
Notes
- For a fruity twist, consider adding 1/2 cup of pureed fruit (like strawberry or mango) to the batter before microwaving.
- Alternatively, you can fill the mochi with sweetened red bean paste or ice cream for a delightful surprise.
Leave a Reply