
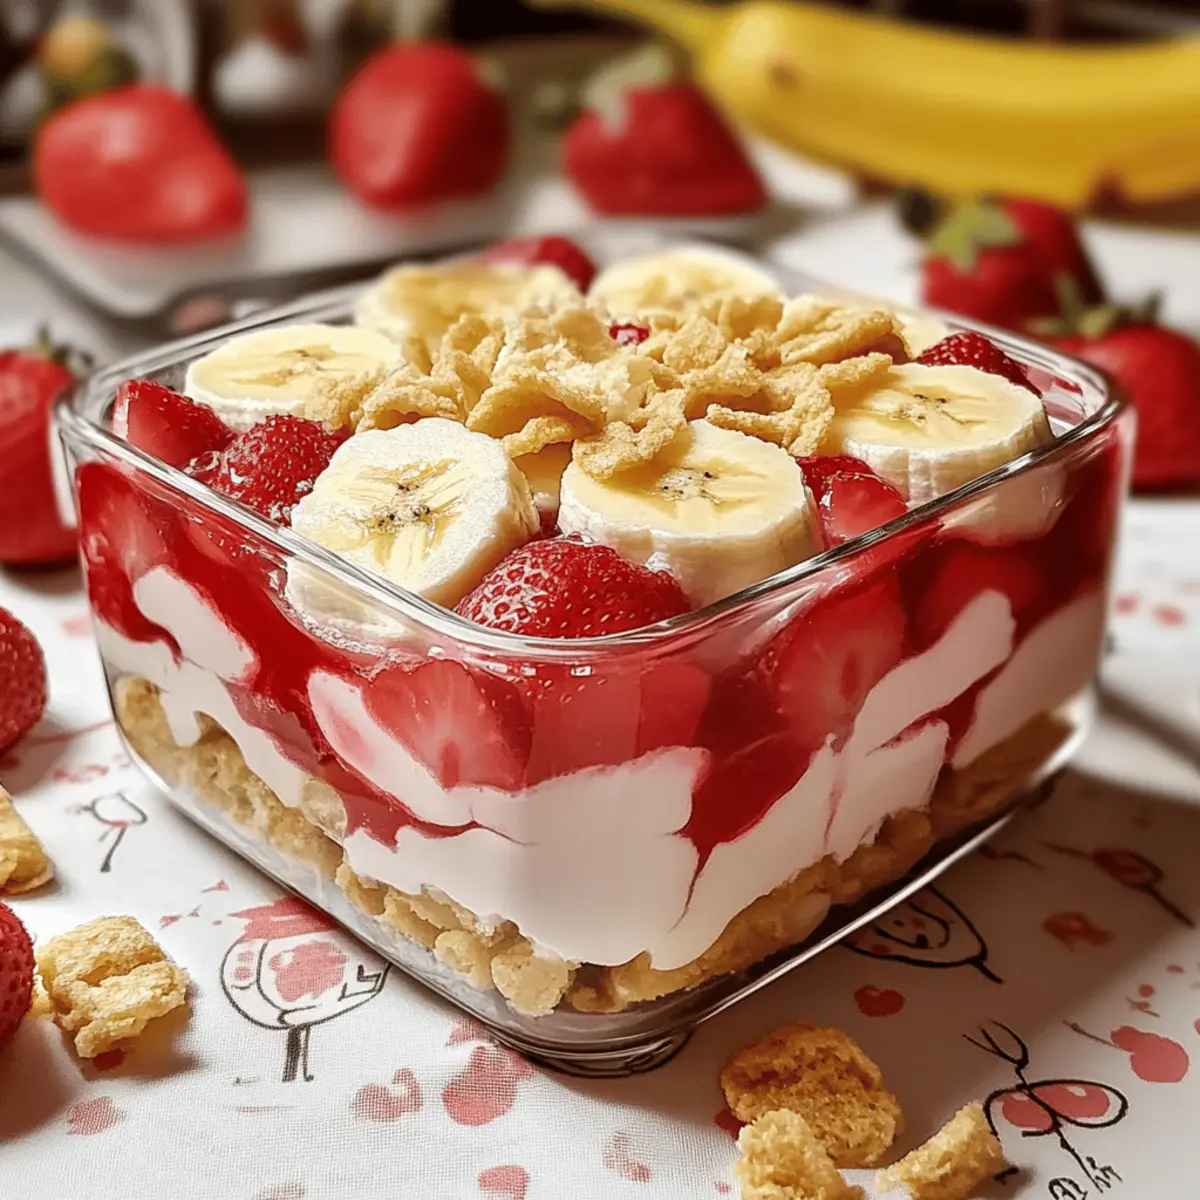
As I stood in the kitchen, the sun streaming through the window, a craving struck—a simple, delightful dessert to share. That’s when I decided to whip up a No-Bake Strawberry Banana Pudding Dream. Imagine layers of creamy vanilla pudding mingling with ripe bananas and fresh strawberries, all resting on a crunchy base of vanilla wafers. What makes this dessert truly special is not just its vibrant flavors but its 20-minute prep time, making it the perfect sweet fix for busy weeknights or surprise guests. Plus, it’s vegetarian-friendly and easily made gluten-free, ensuring everyone can enjoy a taste of this creamy bliss. Are you ready to discover how to create this delicious layered treat that’s sure to impress?
Why is this dessert a showstopper?
Quick Preparation: This dessert comes together in just 20 minutes of hands-on time, allowing you to impress guests without hours of effort.
No-Bake Convenience: Perfect for warm days or when you simply want to avoid heating the kitchen!
Crowd-Pleasing Flavor: The balance of sweet bananas, tangy strawberries, and creamy pudding makes it irresistible for both kids and adults.
Versatile Options: You can easily modify the fruits or pudding flavors, ensuring a delightful experience every time. For more fruity inspiration, check out my Strawberry Shortcake Ice!
Make-Ahead Magic: Prepare it a day in advance, and you’ll have a delicious treat ready to serve.
Gluten-Free Friendly: Just swap in gluten-free vanilla wafers for an inclusive dessert that everyone can enjoy!
Strawberry Banana Pudding Dream Ingredients
For the Base
• Vanilla Wafers – Forms a sweet, crunchy base; gluten-free wafers can be substituted.
For the Creamy Filling
• Bananas (6-8 pieces) – Adds natural sweetness and flavor; use ripe bananas for the best taste.
• Strawberries (1 container) – Provides tartness and fresh flavor; thawed frozen strawberries can be used if fresh are unavailable.
• Milk (2 cups) – Used to prepare pudding; any dairy or nondairy milk like almond works well.
• French Vanilla Pudding (1 box, 5 oz) – Creates the creamy texture for the pudding; both instant and cook-and-serve versions are acceptable.
• Cream Cheese (8 oz) – Adds a rich creaminess to the pudding mixture; ensure it’s at room temperature for smooth blending.
• Sweetened Condensed Milk (14 oz can) – Enhances sweetness and richness of the pudding.
For the Topping
• Whipped Topping (12 oz) – Serves as the final creamy layer; homemade whipped topping can add a personal touch.
Step‑by‑Step Instructions for Strawberry Banana Pudding Dream
Step 1: Prepare the Creamy Mixture
In a mixing bowl, combine 8 oz of softened cream cheese with a 14 oz can of sweetened condensed milk. Using an electric mixer, whisk them together on medium speed until the mixture is smooth and creamy, which should take about 2 minutes. Make sure there are no lumps left, as this will ensure a velvety pudding base for your Strawberry Banana Pudding Dream.
Step 2: Add the Pudding and Mix
Next, stir in a 5 oz box of French vanilla pudding mix along with 2 cups of milk. Continue mixing on low speed until everything is well combined, checking that the pudding mix is fully dissolved. The mixture should thicken slightly after about 2-3 minutes of mixing. This creamy filling will create the luscious layers of your dessert.
Step 3: Layer the Base
Grab a rectangular serving dish and evenly spread a layer of vanilla wafers across the bottom. Make sure they cover the base completely and are tightly packed for a solid foundation. This crunchy layer will provide a delightful contrast to the creamy pudding and fresh fruit, enhancing your Strawberry Banana Pudding Dream.
Step 4: Add the Fruits
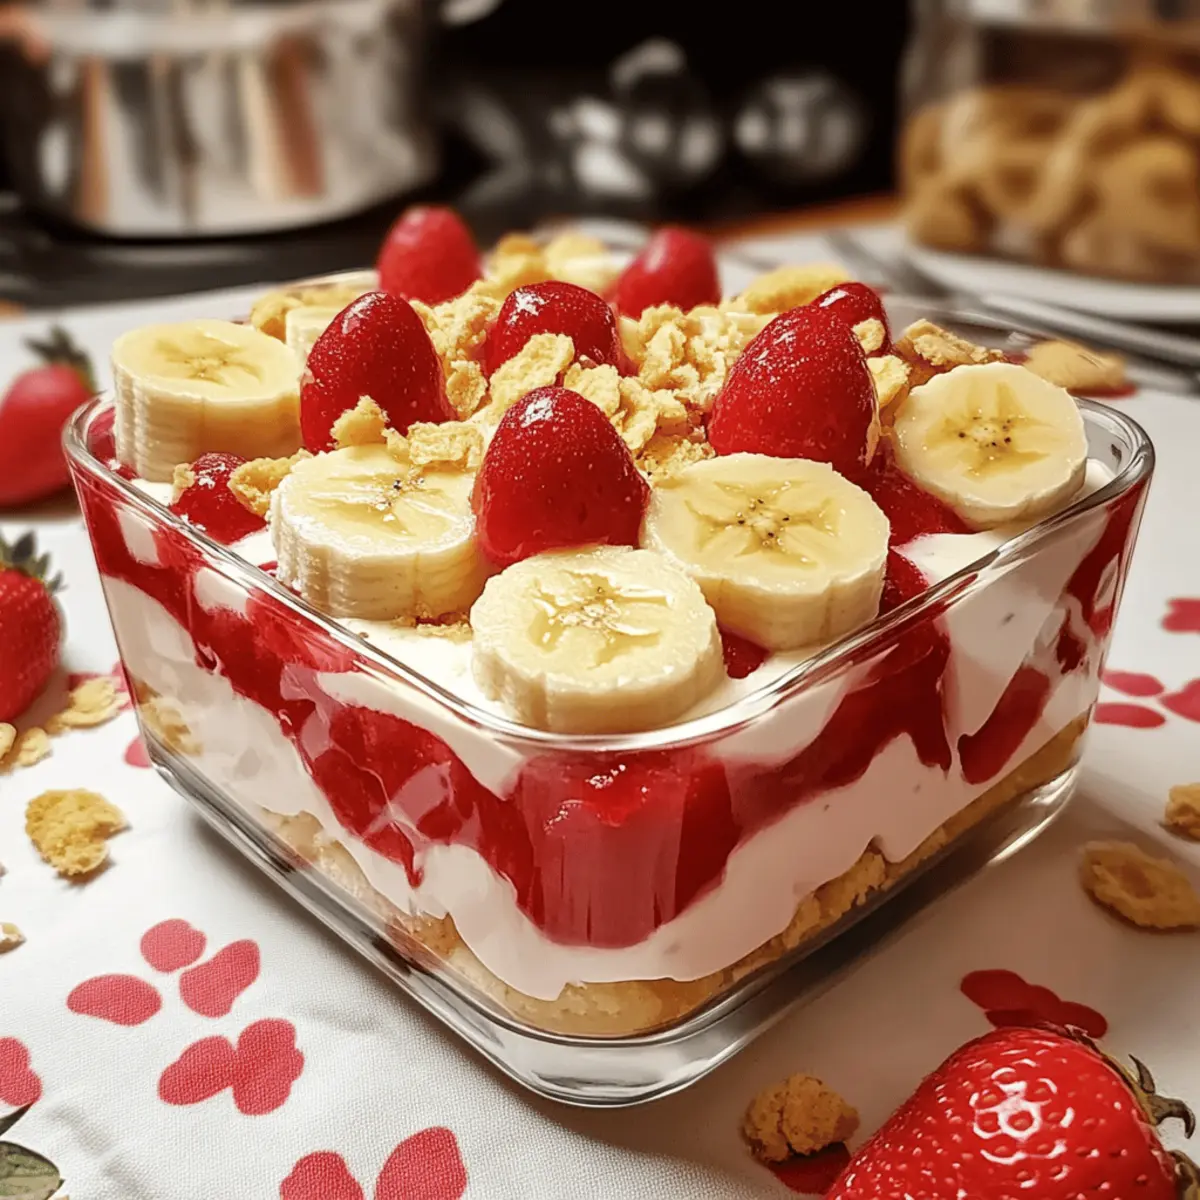
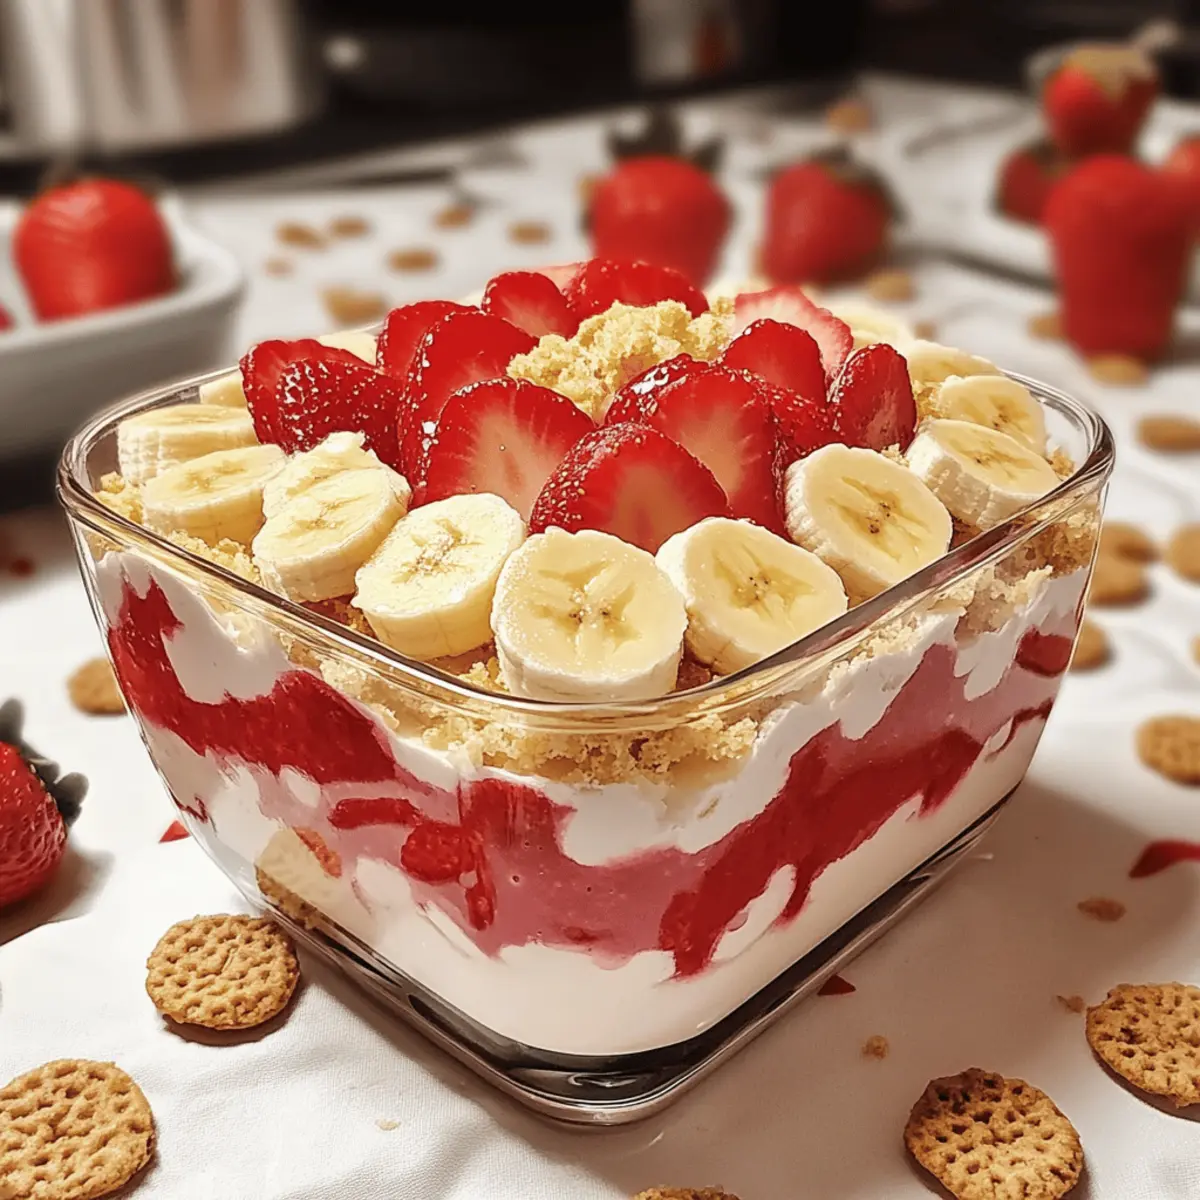
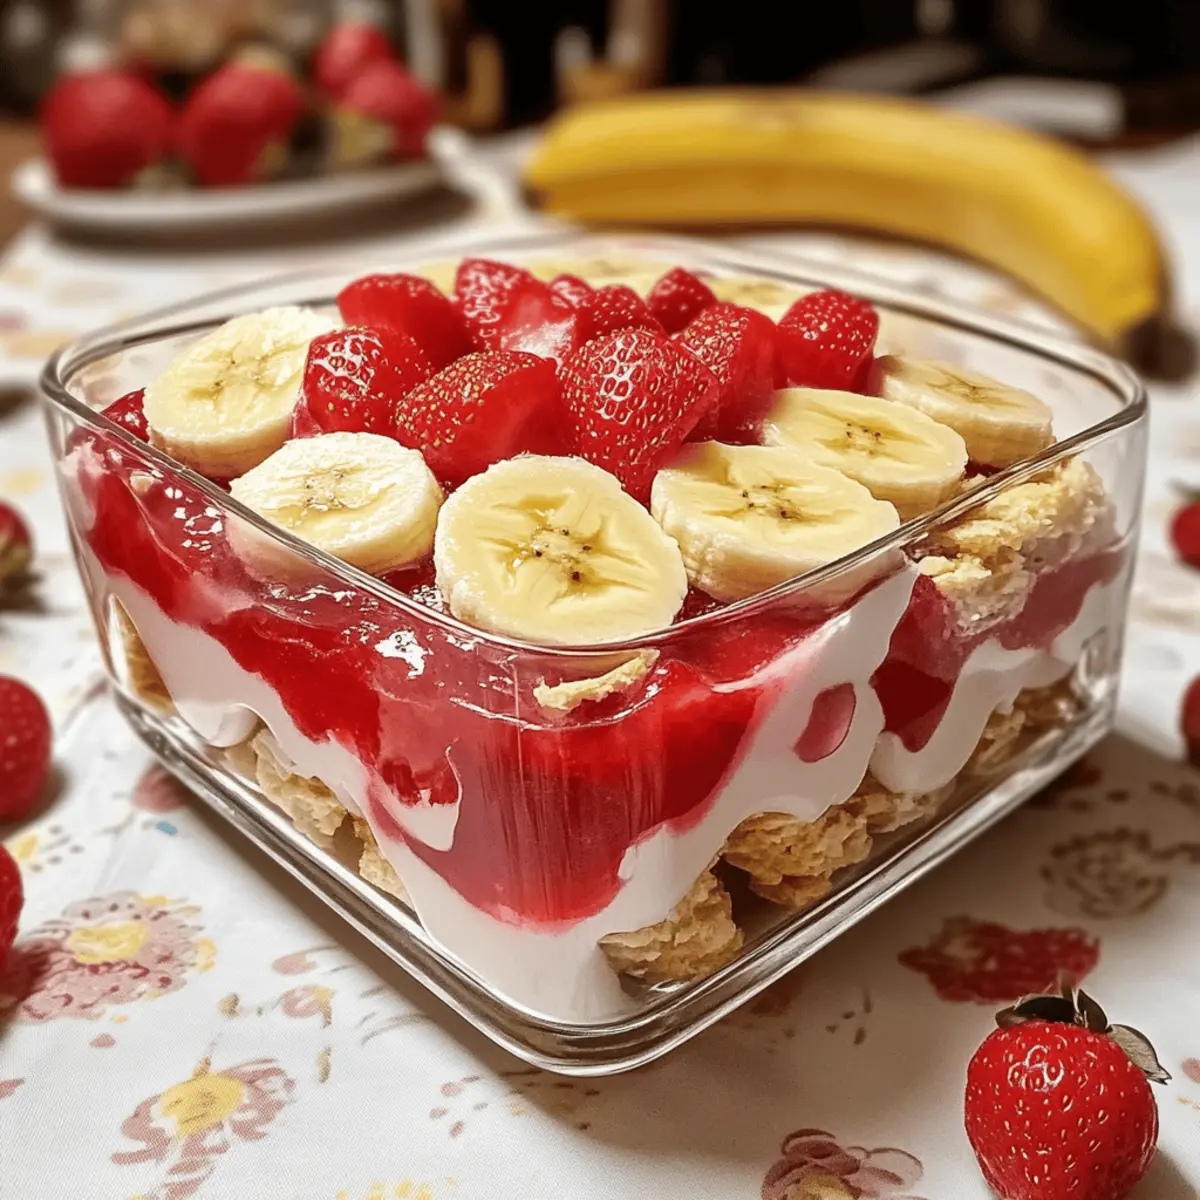
Next, slice 6-8 ripe bananas and layer them over the vanilla wafers, positioning them for even coverage. Follow this by adding a layer of fresh strawberries, sliced if large, or halved if smaller. Arrange the fruit as desired, making sure to spread them evenly to ensure each bite is a delicious combination of flavors in your Strawberry Banana Pudding Dream.
Step 5: Pour Half of the Creamy Mixture
Gently pour half of the creamy pudding mixture over the layered fruits and wafers. Use a spatula to spread it evenly over the top, ensuring all the bananas and strawberries are covered. This creamy layer will make each spoonful of your Strawberry Banana Pudding Dream rich and indulgent, inviting everyone to dig in.
Step 6: Repeat with More Layers
Now, add another layer of vanilla wafers on top of the pudding mixture. Once again, position them in a single, even layer. Follow up by adding the remaining banana and strawberry slices, creating a beautiful second fruit layer that adds brightness and freshness to your dessert for the final section of your Strawberry Banana Pudding Dream.
Step 7: Finish with the Remaining Pudding
Pour the rest of the creamy pudding mixture over the second layer of fruit, spreading it smoothly with a spatula to ensure it covers everything completely. This top layer enhances the dessert’s texture and ties all the flavors together. Your Strawberry Banana Pudding Dream is inching closer to perfection!
Step 8: Add Whipped Topping and Chill
Lastly, spread 12 oz of whipped topping over the final layer of pudding, smoothing it out gently. Cover the dish with plastic wrap and refrigerate for at least 4 hours, or overnight if possible. Chilling allows the flavors to meld beautifully, resulting in a dreamy texture and taste in your Strawberry Banana Pudding Dream when served.
Strawberry Banana Pudding Dream Variations
Feel free to put your own twist on the Strawberry Banana Pudding Dream with these simple variations that will elevate your dessert experience!
-
Fruit Swap: Replace strawberries and bananas with raspberries or peaches for a unique twist. The vibrant colors and flavors will create a beautiful array that’s equally delicious.
-
Pudding Flavor: Experiment by using chocolate or butterscotch pudding mixes instead of the classic French vanilla. This adds a delightful richness and complements the fruit beautifully.
-
Dairy-Free Delight: For a dairy-free treat, swap the cream cheese and whipped topping for plant-based alternatives. This means everyone can savor your creation without hesitation!
-
Crunchy Textures: Enhance the texture by adding chopped nuts or granola layers between the pudding and fruit. The added crunch will offer a lovely contrast that everyone will enjoy.
-
Flavor Boost: Drizzle a bit of caramel or chocolate sauce between layers to add extra flavor depth. This decadent addition will make your Strawberry Banana Pudding Dream feel extra indulgent!
-
Zesty Breeze: Incorporate a hint of citrus by adding a splash of lemon or orange zest into the pudding mixture. This will brighten up the flavors wonderfully.
-
Layered Yogurt: For a creamy upgrade, mix in a layer of Greek yogurt with honey for some added protein and tang. This twist makes it feel a bit healthier while keeping it tasty!
-
Frozen Treat: Turn this into a frozen dessert by layering the pudding mixture in popsicle molds. After freezing, you’ll have a refreshing treat perfect for warm days.
Don’t forget to explore other delicious recipes, such as my fantastic Salted Caramel Banana or energizing Strawberry Shortcake Protein smoothie for more flavor inspirations!
Expert Tips for Strawberry Banana Pudding Dream
-
Ripe Bananas:
Using ripe bananas enhances the natural sweetness of your pudding. Overripe bananas are also a great option, adding a deeper flavor. -
Chill Time:
Allow your Strawberry Banana Pudding Dream to set in the refrigerator for at least 4 hours. This helps the layers meld together beautifully. -
Layering Technique:
Make sure each layer is even and well-distributed. This ensures every bite includes a bit of the crunchy base, creamy filling, and fresh fruit. -
Presentation Matters:
For a lovely finish, garnish with extra fruit slices or crushed vanilla wafers before serving. It adds a pop of color and style! -
Storage Solutions:
If you’re preparing it ahead, cover tightly to keep the bananas and strawberries fresh. Consume within 3 days for the best taste.
What to Serve with Strawberry Banana Pudding Dream
As you prepare to delight in this layered dessert, consider adding perfect companions that enhance the experience and create a full meal.
-
Fresh Fruit Salad: A colorful assortment of seasonal fruits brightens the table and complements the sweetness of the pudding.
-
Crispy Bacon Strips: The salty crunch of bacon offers a fantastic contrast, balancing the sweetness of the Strawberry Banana Pudding Dream beautifully.
-
Vanilla Ice Cream: A scoop of creamy vanilla ice cream on the side melts into the pudding, adding an extra layer of sweetness and richness.
-
Chocolate Drizzle: A simple drizzle of melted chocolate over the pudding can elevate the flavors and add an indulgent touch to each bite.
-
Coconut Whipped Cream: For a tropical twist, serve your dessert with coconut whipped cream, bringing creaminess and a hint of island flavor.
-
Sparkling Water with Lemon: The effervescent sip of sparkling water infused with lemon zest cleanses the palate between bites, making each mouthful enjoyable.
-
Peanut Butter Cookies: Complement your dessert with chewy peanut butter cookies, offering a nutty flavor that pairs wonderfully with the fruity layers.
Indulging in these pairings not only creates a feast for the eyes but also a festive experience for your taste buds!
Make Ahead Options
These no-bake Strawberry Banana Pudding Dream layers are perfect for meal prep lovers looking to save time! You can prepare the creamy pudding mixture and layer it with the vanilla wafers, banana slices, and strawberries up to 24 hours in advance. Just ensure the dish is covered well to keep the fruit fresh and prevent browning. When you’re ready to serve, top it with whipped topping and refrigerate for at least 4 hours to set. If you need to store it longer, the dessert can be kept in the refrigerator for up to 3 days, offering you a sweet treat that’s just as delicious every time!
Storage Tips for Strawberry Banana Pudding Dream
-
Preparation Ahead: You can make the Strawberry Banana Pudding Dream 24 hours in advance; just ensure it’s covered tightly to prevent browning of the bananas and strawberries.
-
Refrigeration: Store any leftovers in an airtight container in the refrigerator for up to 3 days. This will keep your creamy layers fresh and delicious.
-
Freezing: If desired, you can freeze the pudding without the whipped topping for up to a month. Simply layer it, seal it well, and add the topping just before serving for a delightful thawed treat.
-
Thawing Instructions: To enjoy your frozen Strawberry Banana Pudding Dream, transfer it to the fridge and let it thaw overnight for optimal texture.
Strawberry Banana Pudding Dream Recipe FAQs
What type of bananas should I use for the best flavor?
Absolutely! For the best flavor, always go for ripe bananas. They add just the right amount of natural sweetness and creaminess to your Strawberry Banana Pudding Dream. Overripe bananas are also a good option as they are softer and even sweeter, making your dessert extra indulgent.
How should I store the Strawberry Banana Pudding Dream after making it?
To keep your dessert fresh, store it in an airtight container in the refrigerator for up to 3 days. Make sure it’s covered tightly to prevent the bananas from browning and the flavors from dissipating. If you have leftovers, this method will ensure they remain creamy and delicious!
Can I freeze the Strawberry Banana Pudding Dream?
Yes, you can freeze it! I often do this for a make-ahead dessert. To freeze, layer your pudding in a suitable dish and seal tightly with plastic wrap or a lid. It can be frozen for up to a month. Just remember to add the whipped topping fresh before serving. For thawing, simply move it to the fridge the night before you plan to enjoy it.
What should I do if my pudding mixture doesn’t thicken?
If your pudding mixture isn’t thickening as expected, don’t worry! First, double-check that you’re using the correct proportions of milk and pudding mix. If it still seems runny, let it chill longer in the refrigerator for an additional hour or so. The chilling process helps to firm up the layers, resulting in that perfect texture everyone loves in a Strawberry Banana Pudding Dream.
Is this dessert suitable for those with dietary restrictions?
Absolutely! This Strawberry Banana Pudding Dream is vegetarian-friendly, and you can easily make it gluten-free by substituting regular vanilla wafers with gluten-free ones. Just check the labels on ingredients like pudding mix and whipped topping for any potential allergens. If you have any allergies, feel free to customize the fruits and creams to suit your needs. Enjoy the sweet moments worry-free!
Strawberry Banana Pudding Dream: A No-Bake Delight Awaits
Ingredients
Equipment
Method
- In a mixing bowl, combine 8 oz of softened cream cheese with a 14 oz can of sweetened condensed milk. Whisk together on medium speed until smooth and creamy, about 2 minutes.
- Stir in a 5 oz box of French vanilla pudding mix and 2 cups of milk. Mix on low speed until well combined, about 2-3 minutes.
- Spread a layer of vanilla wafers across the bottom of a rectangular serving dish.
- Slice 6-8 ripe bananas and layer them over the vanilla wafers, followed by a layer of fresh strawberries.
- Pour half of the creamy pudding mixture over the fruits and wafers, spreading it evenly.
- Add another layer of vanilla wafers on top, followed by the remaining banana and strawberry slices.
- Pour the rest of the creamy pudding mixture over the second layer of fruit, spreading it smoothly.
- Spread 12 oz of whipped topping over the final layer of pudding, smooth it out, cover with plastic wrap, and refrigerate for at least 4 hours.
Leave a Reply