
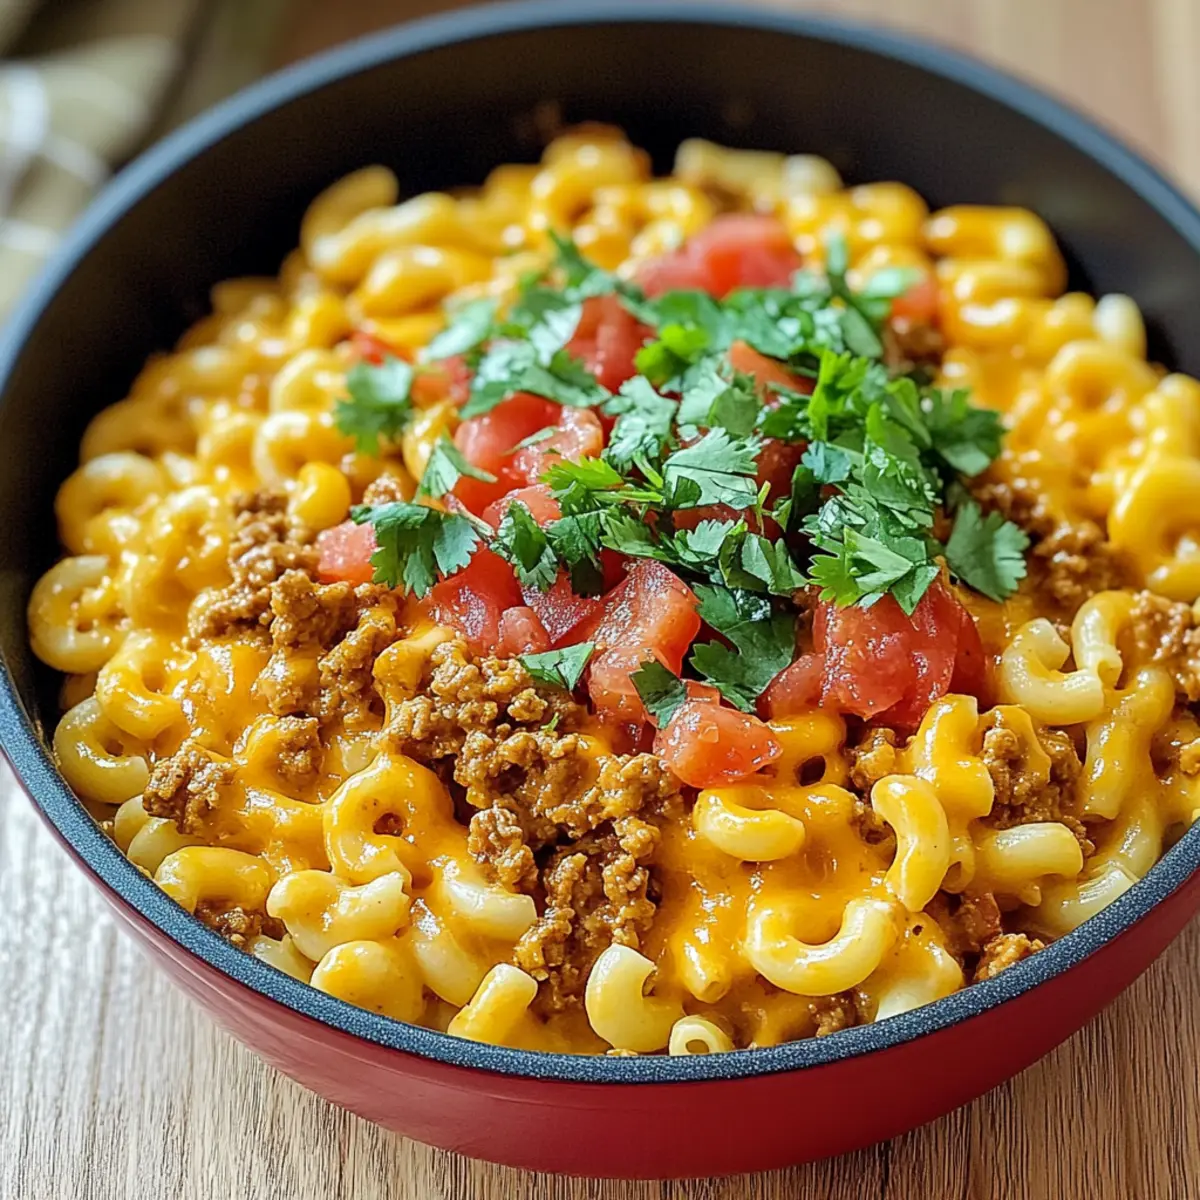
As I rummaged through my pantry, the familiar remnants of dinner prep echoed in my mind: boxes of macaroni, a few cans of this and that—and that’s when inspiration hit me hard! I whipped up an Easy Taco Mac and Cheese, and let me tell you, it was a revelation. This crowd-pleasing dish is not only a high-protein delight perfect for family-friendly dinners, but it also takes a mere 20 minutes to prepare. With ingredients you likely already have on hand, you’re just a quick stove-top adventure away from a creamy, zesty bowl of comfort. Who knew you could elevate classic mac and cheese into a satisfying meal that beats out fast food any day? Are you ready to discover the magic of this pantry-friendly recipe? Let’s dive in!
Why Try This Taco Mac and Cheese?
Quick and Easy: Perfect for busy weeknights, this dish comes together in just 20 minutes, making it a lifesaver for families on the go.
Pantry Staples: Using ingredients you likely already have, this recipe keeps your grocery budget in check while creating a delicious meal that everyone will love.
High Protein: With canned chicken or beef, you’ll enjoy a hearty protein boost, making it both satisfying and nourishing—ideal for growing kids and active adults alike.
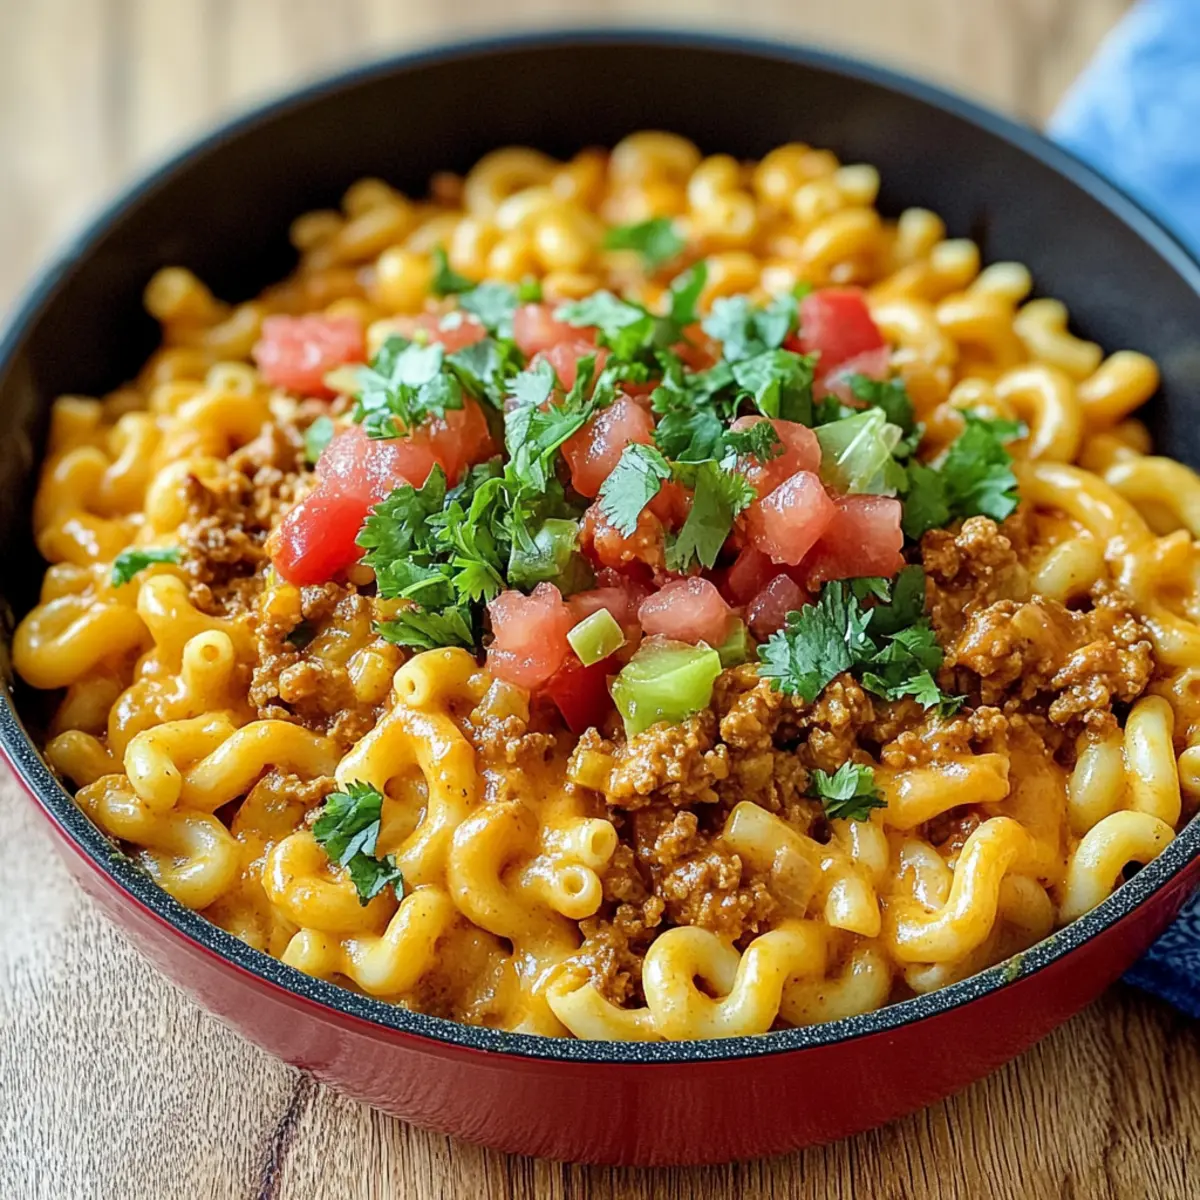
Versatile Toppings: Customize your dish with toppings like crushed tortilla chips or fresh avocado for delightful added texture, ensuring each bowl is unique!
Kid-Approved Flavor: The bold taco seasoning blends seamlessly with cheesy goodness, transforming traditional mac and cheese into an exciting new favorite, making it a hit for picky eaters!
For more easy family meals, check out my Chicken Mac Cheese or Savory Ham Cheese recipes!
Taco Mac and Cheese Ingredients
For the Pasta
• 14.5 ounces boxed macaroni and cheese (2 standard boxes) – This base provides the creamy, comforting element that we all love; just pick your favorite brand!
• 6 cups water – Essential for cooking the pasta to the perfect al dente texture.
For the Protein
• 12.5 ounces canned chicken breast or ground beef, drained – This adds a delicious protein boost; feel free to substitute with canned beans for a vegetarian option!
For the Sauce
• 1 ounce taco seasoning mix (1 packet) – Infuses authentic taco flavors into the dish; adjust for spice preference or make your own for a health-conscious choice.
• 0.5 cup canned evaporated milk – This lends creaminess to your sauce; swap in heavy cream or plant-based milk for a lactose-free alternative.
• 4 tablespoons unsalted butter or shelf-stable ghee – Adds rich flavor; olive oil works as a lighter substitute if desired.
For the Extras
• 10 ounces canned diced tomatoes with green chilies, undrained – Enhances moisture and offers a hint of spice; choose mild varieties for a family-friendly meal.
With these delicious ingredients, your Taco Mac and Cheese is just moments away from becoming a fabulous, satisfying meal!
Step‑by‑Step Instructions for Taco Mac and Cheese
Step 1: Boil the Water
Begin by bringing 6 cups of water to a rolling boil in a large pot over high heat. This will be the foundation for your delicious Taco Mac and Cheese. As the water heats up, keep an eye on it to ensure it doesn’t boil over.
Step 2: Cook the Pasta
Once your water is boiling, add the boxed macaroni and cheese pasta. Cook it for 7 to 9 minutes, stirring occasionally, until the pasta reaches an al dente texture. You’ll want it tender yet firm to the bite. Drain the pasta thoroughly in a colander and return it to the pot.
Step 3: Combine the Sauce Ingredients
Place the pot with the drained pasta back on low heat. Stir in the cheese powder packets from your macaroni boxes, along with the evaporated milk and butter. Add in the taco seasoning mix and stir well until everything is smoothly combined. The mixture will become creamy and flavorful.
Step 4: Add the Protein and Tomatoes
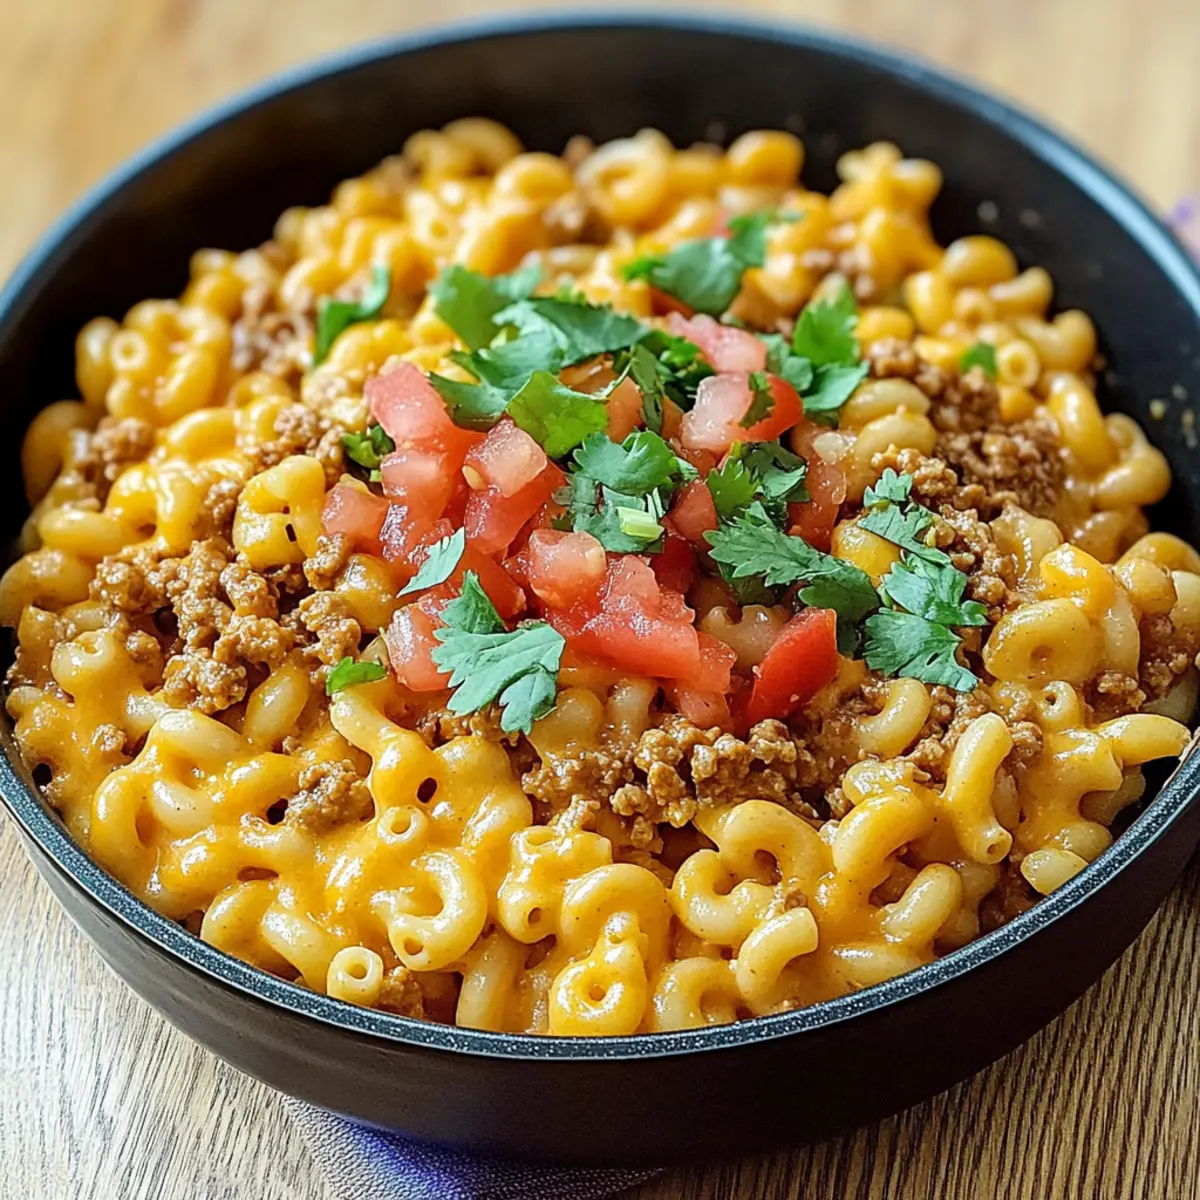
Next, gently fold in the canned chicken breast or ground beef, draining excess liquid as needed, along with the undrained canned diced tomatoes with green chilies. Mix everything together until the protein is evenly distributed throughout the creamy sauce, inviting the delightful taco flavor into your Taco Mac and Cheese.
Step 5: Heat and Thicken the Mixture
Continue to cook the combined ingredients over low heat for an additional 3 minutes, stirring frequently. Keep a close watch as the sauce thickens and the protein warms up, enjoying the incredible aroma wafting through your kitchen.
Step 6: Rest Before Serving
Once fully heated and creamy, remove the pot from the heat and let your Taco Mac and Cheese rest for about 2 minutes. This will allow the sauce to set, enhancing the flavors and ensuring each bite is as delightful as the last. Serve warm and savor every comforting spoonful!
Storage Tips for Taco Mac and Cheese
Fridge: Store leftovers in an airtight container for up to 4 days. Make sure the dish is cooled before sealing to maintain freshness.
Freezer: If you want to save for later, freeze portions in freezer-safe containers for up to 3 months. Thaw overnight in the fridge before reheating.
Reheating: When ready to enjoy again, reheat in the microwave or on the stove over low heat. Add a splash of milk to keep the sauce creamy and prevent dryness.
Room Temperature: Avoid leaving Taco Mac and Cheese at room temperature for more than 2 hours to ensure food safety.
Expert Tips for Taco Mac and Cheese
-
Don’t Rush the Pasta: Ensure you cook the macaroni al dente to maintain a perfect texture; overcooked pasta can become mushy and less enjoyable.
-
Mix Well: When combining the cheese powder and liquids, stir thoroughly for a smooth, creamy sauce. Uneven mixing can lead to clumps of cheese that need extra effort to dissolve.
-
Spice Your Way: Feel free to adjust the taco seasoning. For a milder family-friendly flavor, use half the packet or choose mild diced tomatoes to cater to sensitive palates.
-
Boost Shelf Life: If you have leftovers, store them in an airtight container in the fridge for up to four days; reheat with a splash of milk to keep the sauce creamy.
-
Creative Add-ins: Consider adding vegetables like bell peppers or corn for extra nutrients and color, ensuring an even more delightful Taco Mac and Cheese experience.
What to Serve with Easy Taco Mac and Cheese
Make your dinner truly memorable by pairing this hearty delight with complementing sides that elevate every bite!
-
Fresh Garden Salad: A light and crisp salad adds contrasting textures, balancing the rich creaminess of the mac and cheese. Toss in colorful veggies for added nutrition.
-
Steamed Broccoli: The slight bitterness of steamed broccoli contrasts beautifully with the cheesy goodness. Plus, it’s a perfect way to sneak in some greens for the kids!
-
Mexican Street Corn: Serve this flavorful corn dish covered in cheese, lime juice, and spices to enhance the taco flavors in your mac and cheese. The sweetness of the corn creates a delightful mix of flavors!
-
Crispy Tortilla Chips: For an added crunch, serve with crispy tortilla chips on the side. They make for a fun scoopable option and are perfect for dipping into any leftover creamy sauce.
-
Guacamole: A side of creamy guacamole brings a fresh, zesty twist that enhances the overall flavor while adding healthy fats to your meal!
-
Sparkling Lemonade: Pair your meal with a refreshing glass of sparkling lemonade. The citrusy fizz complements the richness of the Taco Mac and Cheese, making it the perfect drink to cleanse the palate.
Make Ahead Options
These Easy Taco Mac and Cheese are perfect for meal prep enthusiasts! You can cook the pasta and mix it with the sauce components up to 24 hours in advance. Simply boil the macaroni, combine it with the cheese, evaporated milk, butter, taco seasoning, and the protein, then transfer everything to an airtight container. To maintain its creamy texture, add a splash of milk before reheating. When you’re ready to enjoy your meal, just heat the mixture on the stove over low heat for about 5-7 minutes until heated through. This way, you’ll have a delicious, home-cooked meal ready to savor with minimal effort, making busy weeknights a breeze!
Variations & Substitutions for Taco Mac and Cheese
Get ready to unleash your creativity and make this delightful dish truly yours!
- Vegetarian: Swap canned chicken or beef with canned beans for a protein-rich, plant-based version that’s just as satisfying.
- Gluten-Free: Use gluten-free pasta to accommodate dietary needs while keeping all the cheesy, taco goodness intact for a delightful meal.
- Creamy Twist: For an indulgent experience, blend in cream cheese or sour cream for a luxurious, richer sauce that elevates each bite.
- Spicy Kick: If you love heat, add diced jalapeños or a splash of hot sauce to the mix for an extra zesty surprise in every spoonful!
- Texture Boost: Top with crispy crushed tortilla chips or breadcrumbs before baking for a delightful crispy finish and added crunch that everyone will enjoy.
- Veggie-Packed: Toss in some frozen corn or diced bell peppers along with your protein for a pop of color and an additional nutrient boost perfect for busy families.
- Fresh Herbs: Add a handful of chopped cilantro or green onions right before serving to brighten up the flavors, bringing a refreshing twist to your meal.
If you’re craving more delicious family meals, why not explore my Lemon Blueberry Cheesecake Bars or heartwarming Cheesecake Fruit Salad for effortless dessert options?
Taco Mac and Cheese Recipe FAQs
How do I choose the right pasta for taco mac and cheese?
Absolutely! For this recipe, you can use any brand of boxed macaroni and cheese—just check that it includes cheese powder packets. If you prefer a different pasta shape, feel free to substitute with elbow macaroni, cavatappi, or even gluten-free options. Just remember to cook according to the package instructions for al dente perfection!
What is the best way to store leftovers?
You can store leftover taco mac and cheese in an airtight container in the refrigerator for up to 4 days. Be sure to let it cool before sealing it up to lock in freshness. When you’re ready to enjoy it again, a quick reheat with a splash of milk will help keep the sauce creamy!
Can I freeze taco mac and cheese?
Yes, you can absolutely freeze taco mac and cheese! Divide it into meal-sized portions and transfer them to freezer-safe containers or bags. It can be stored for up to 3 months. To reheat, thaw overnight in the fridge and then warm it up on the stovetop or in the microwave. Adding a little extra milk while reheating will restore its creamy texture.
I’m having trouble with the sauce being too thick. What can I do?
No problem at all! If you find that your sauce is thicker than you’d like, it’s an easy fix. As it heats, gradually add in a splash of water or milk, stirring gently to incorporate. Keep adding until you reach your desired consistency. This method will help revive the creaminess without compromising flavor!
My family doesn’t like spicy food. How can I adjust the flavors?
Very common concern! To cater to sensitive palates, simply use half the packet of taco seasoning and choose mild canned tomatoes without chilies. You can always add a pinch of black pepper or a squeeze of lime juice at the end for an extra kick without overwhelming the kids with spice. Everyone’s happy!
Can pets eat taco mac and cheese leftovers?
It’s best to avoid giving your pets taco mac and cheese. While some ingredients like plain pasta and cooked chicken are fine for pets in small amounts, the spices, especially the taco seasoning, can be harmful to them. Stick to pet-friendly foods to keep your furry friends healthy and safe!
Taco Mac and Cheese Recipe FAQs

Savory Taco Mac and Cheese: Quick Family-Friendly Delight
Ingredients
Equipment
Method
- Begin by bringing 6 cups of water to a rolling boil in a large pot over high heat.
- Once your water is boiling, add the boxed macaroni and cheese pasta. Cook for 7 to 9 minutes until al dente.
- Place the pot with drained pasta back on low heat and stir in cheese powder, evaporated milk, and butter.
- Fold in the canned chicken or ground beef and the undrained canned diced tomatoes with green chilies.
- Continue to cook over low heat for an additional 3 minutes, stirring frequently.
- Remove from heat, let rest for about 2 minutes before serving.
Leave a Reply