
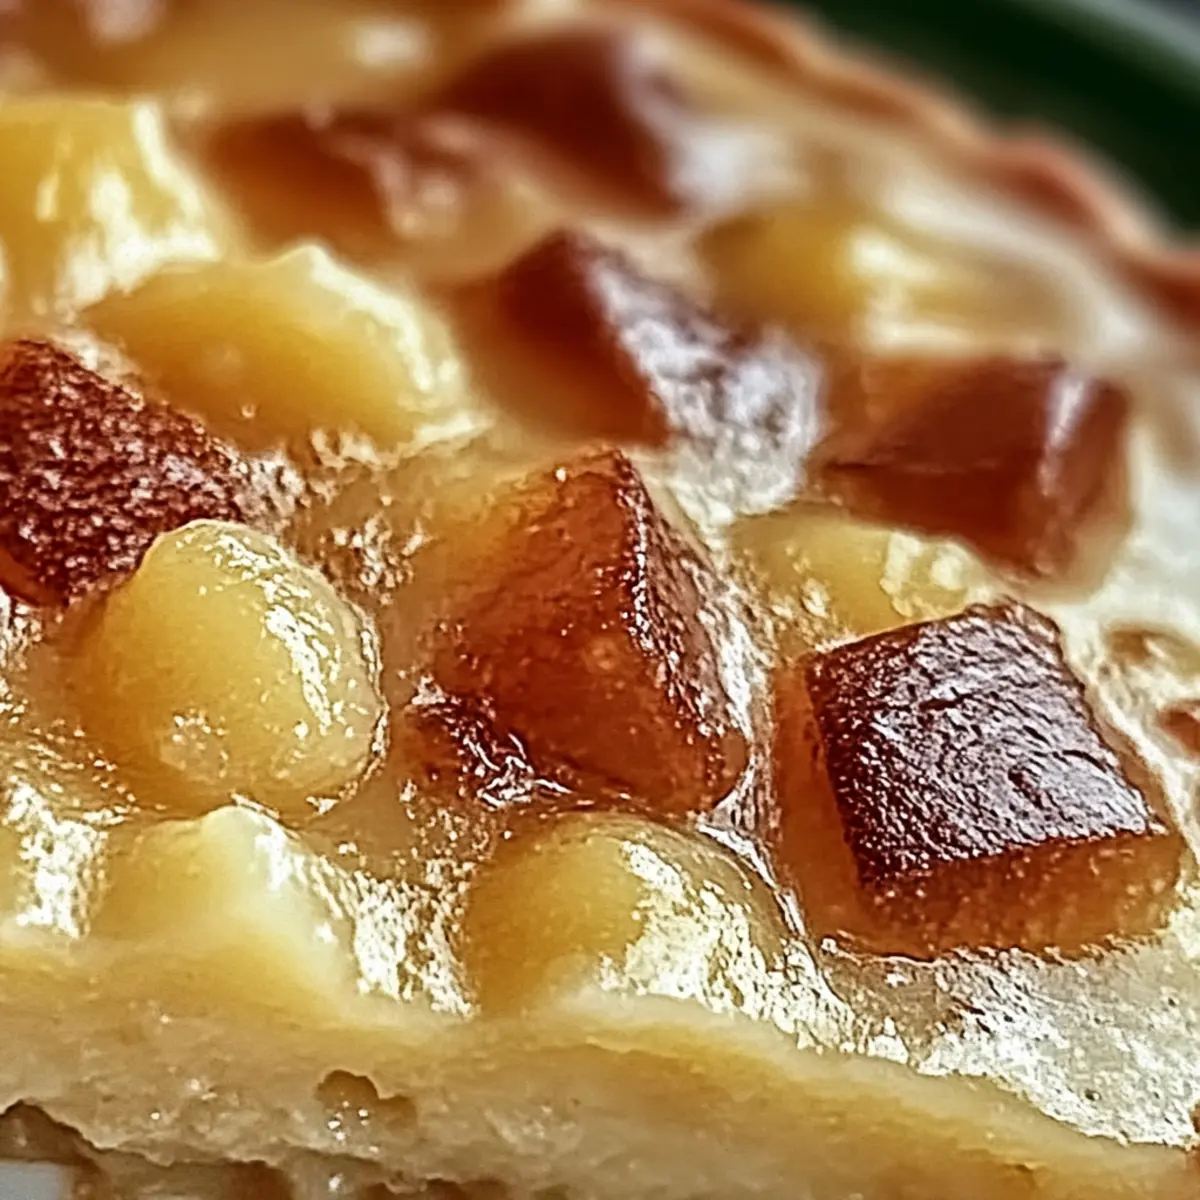
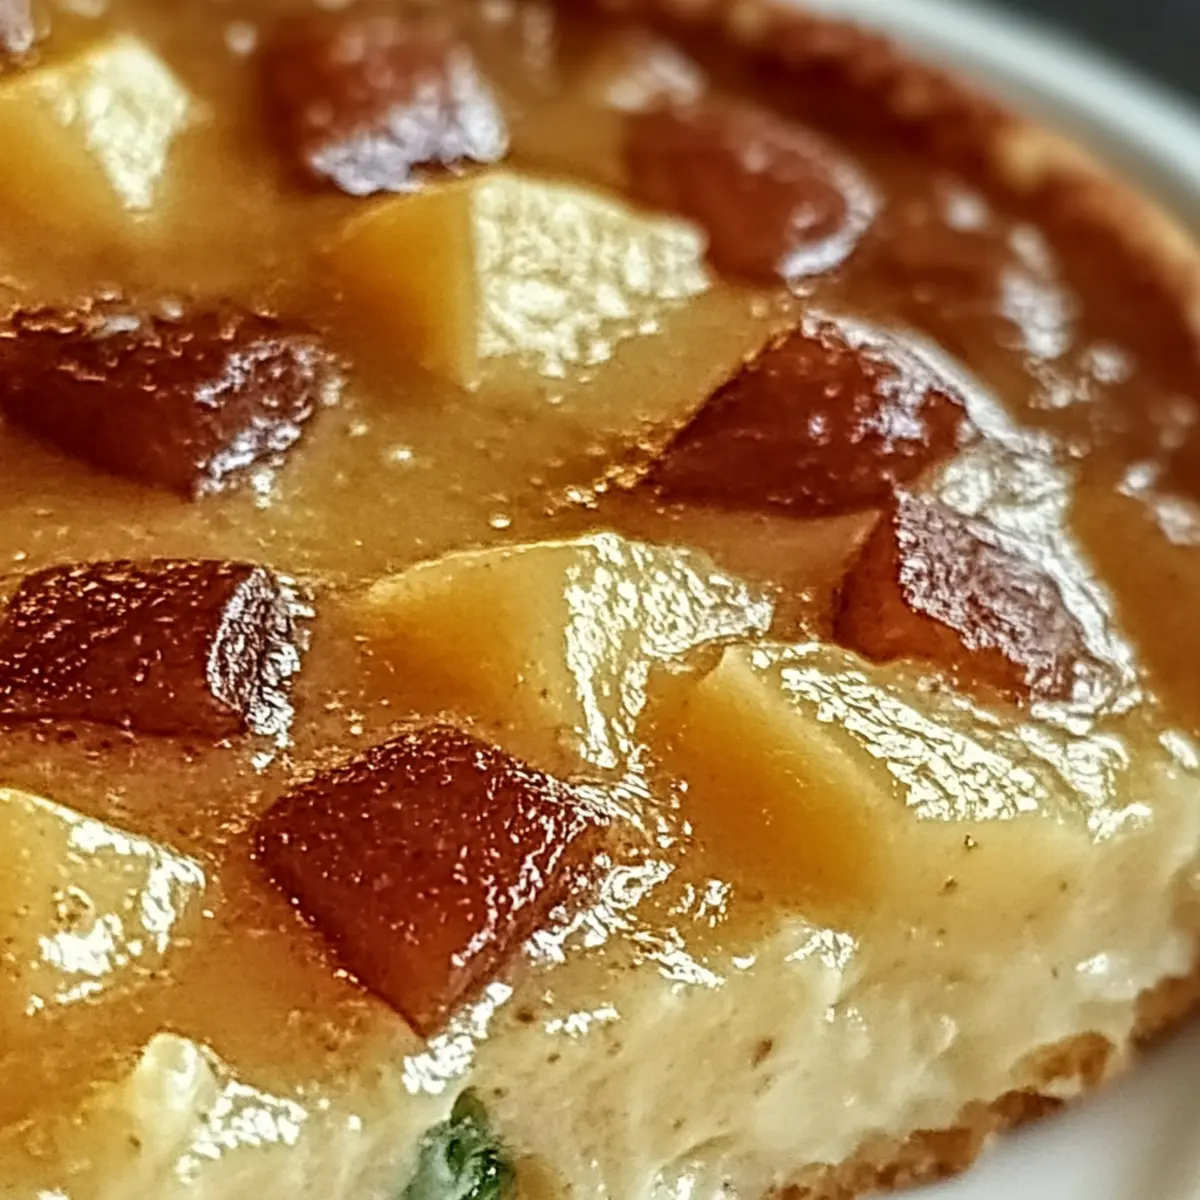
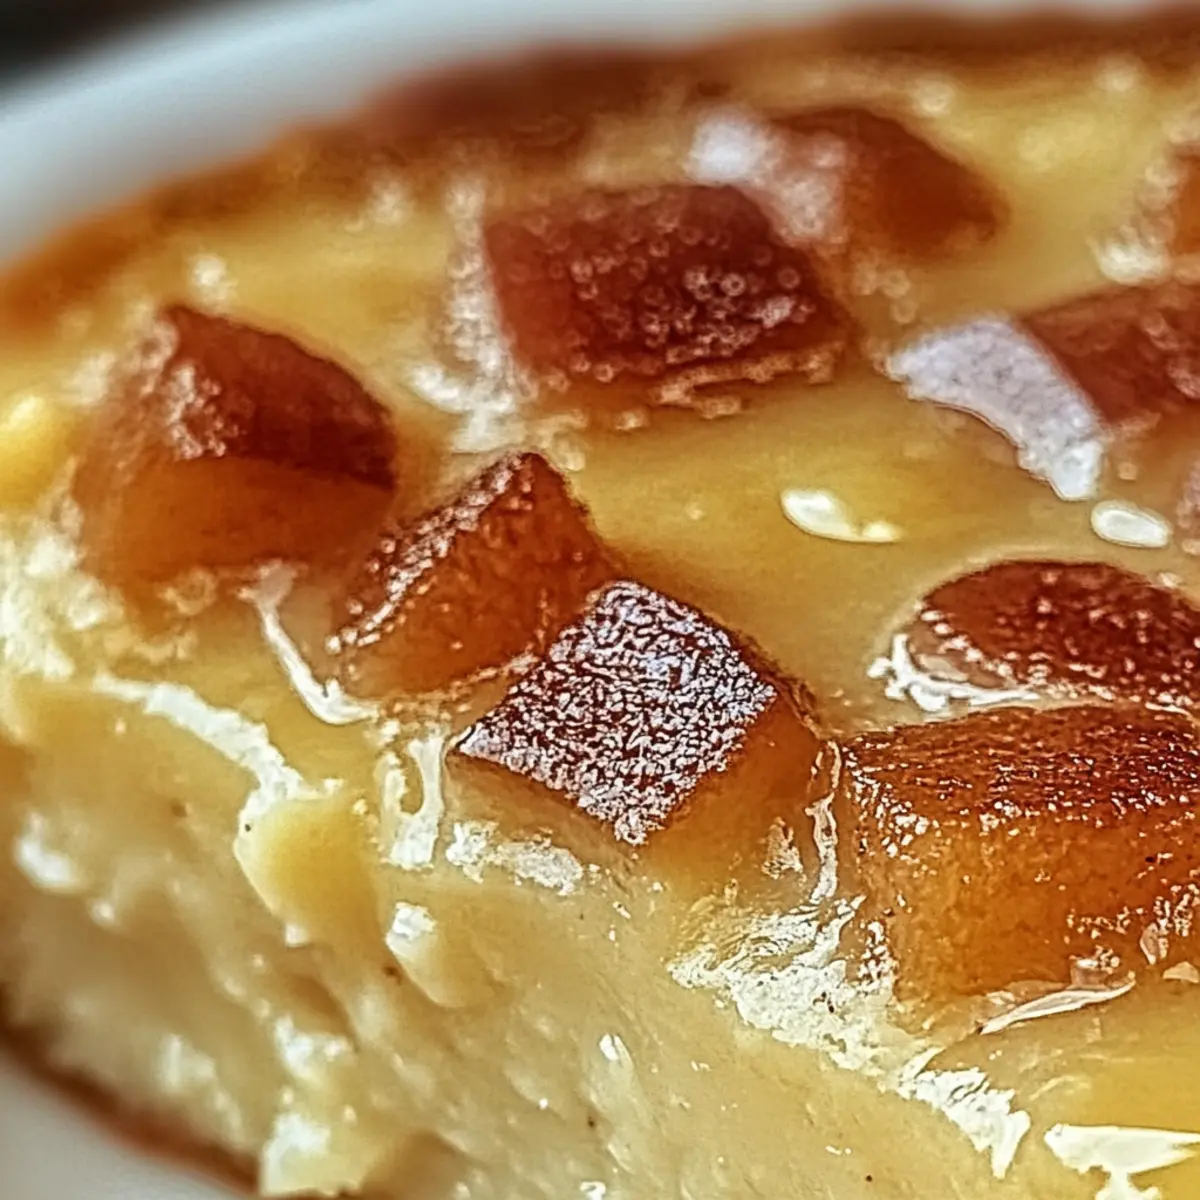
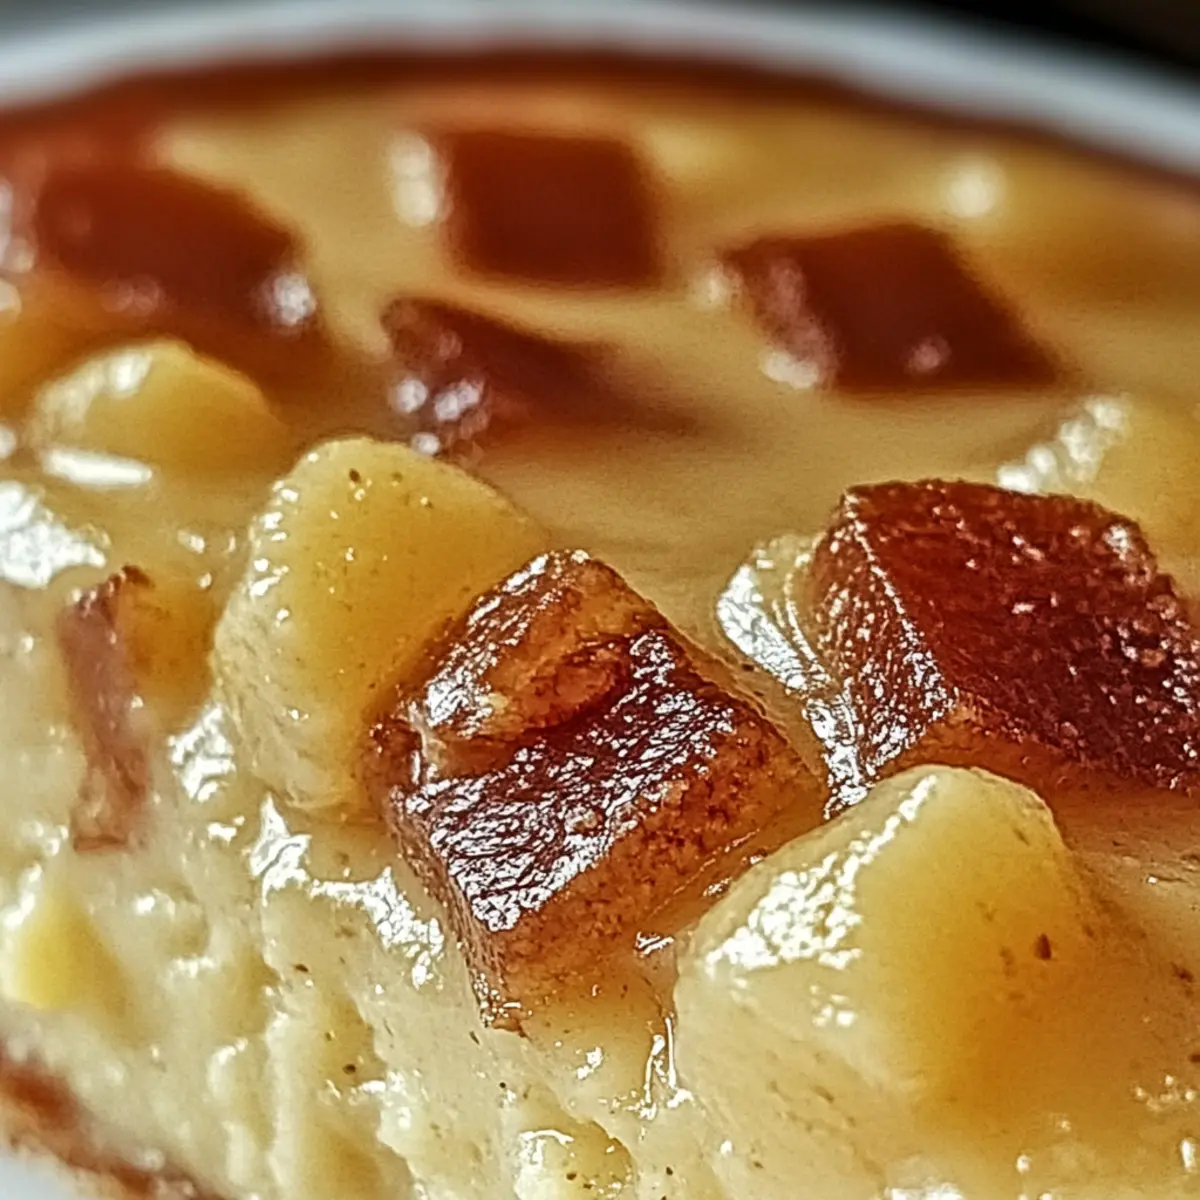
The aroma of freshly baked goods wafts through the kitchen, instantly whisking me back to my childhood, where desserts were pure joy without a hint of guilt. This Guilt-Free Homemade Dessert is my solution to satisfying those sweet cravings while keeping health in mind. Perfectly light and fluffy, this treat caters to both calorie-conscious folks and those managing diabetes, proving that delightful indulgence can be balanced with smart choices. With simple ingredients and quick prep, you’ll find that whipping up this wholesome dessert is easier than you’d think. So, are you ready to bring a touch of sweetness back into your life without sacrificing your health goals? Let’s dive into this delicious journey together!
Why is this dessert a guilt-free favorite?
Health-Conscious Delight: Enjoy a dessert that beautifully balances flavor and health!
Customization Options: Easily swap ingredients to tailor it to your dietary needs—try a sugar substitute or gluten-free flour.
Quick and Simple: With straightforward steps, you’ll have a delightful treat in no time, making it perfect for busy schedules.
Crowd-Pleasing Appeal: Serve it at gatherings; everyone will be raving about how delicious it is, and they’ll never guess it’s guilt-free!
Perfectly Light Texture: This dessert has a light and fluffy crumb, leaving you satisfied rather than weighed down.
Pair it with fresh fruit or a dollop of yogurt for a flavor boost, or check out my other favorites like Cheesecake Fruit Dessert and Pumpkin Swirl Dessert for more healthy indulgences!
Guilt-Free Homemade Dessert Ingredients
For the Batter
- Sugar – Adds sweetness to the dessert; consider using a sugar substitute for a healthier option.
- Butter – Provides rich flavor and moisture; opt for unsalted butter for better control over salt levels.
- Eggs – Source of protein that binds ingredients and gives structure.
- Vanilla Extract – Enhances the overall flavor profile beautifully.
- All-Purpose Flour – Forms the base of the dessert; gluten-free options include almond or coconut flour for a lighter twist.
- Baking Powder – Acts as a leavening agent for that light and fluffy texture you crave.
- Milk – Adds moisture and smoothness; dairy or non-dairy (like almond or oat) options lighten the recipe.
Feel free to explore and indulge in this Homemade Dessert without the guilt—your taste buds will thank you!
Step‑by‑Step Instructions for Guilt-Free Homemade Dessert
Step 1: Preheat the Oven
Start by preheating your oven to 350°F (175°C). This ensures your Guilt-Free Homemade Dessert bakes evenly. While the oven heats up, gather your baking dish and grease it lightly with butter or cooking spray for easy removal later. Your kitchen will soon fill with delightful aromas as the dessert bakes!
Step 2: Cream Sugar and Butter
In a sturdy mixing bowl, combine your sugar and butter. Using a hand mixer or stand mixer, cream them together on medium speed until the mixture becomes light and fluffy, about 3-4 minutes. This step is crucial for creating a texture that is both airy and satisfying, laying the foundation for your delicious dessert.
Step 3: Incorporate the Eggs
Now, add the eggs to your creamed mixture, one at a time. Beat well after each addition to ensure that each egg is fully incorporated before adding the next. This usually takes about a minute. The eggs will help bind everything together and contribute to the fluffy texture of your Guilt-Free Homemade Dessert.
Step 4: Add Vanilla Extract
Next, stir in the vanilla extract, which will enhance the flavor profile of your dessert. Mix until the extract is fully blended into the wet ingredients. This step will bring a lovely aroma to your mixture, setting the stage for the sweet and comforting taste you are about to create.
Step 5: Combine Dry Ingredients
In a separate bowl, whisk together the all-purpose flour and baking powder. Gradually add this dry mixture to the creamed mixture, alternating with the milk, starting and ending with the dry ingredients. Mix gently until just combined; over-mixing can lead to a denser dessert rather than the light and fluffy texture you desire.
Step 6: Pour and Spread the Batter
Pour the batter into your prepared baking dish. Using a spatula, spread it evenly, ensuring that the surface is smooth. Make sure there are no air pockets, as this will help your Guilt-Free Homemade Dessert rise uniformly and achieve that tender crumb that keeps everyone coming back for seconds.
Step 7: Bake to Perfection
Place the dish in the preheated oven and bake for 30-40 minutes. Keep an eye on it, and do the toothpick test around the 30-minute mark; it should come out clean when inserted into the center. If your dessert is golden brown and springs back when lightly pressed, it’s ready to be taken out!
Step 8: Cool Before Serving
Once baked, remove your Guilt-Free Homemade Dessert from the oven and allow it to cool in the dish for at least 10-15 minutes. This cooling period is essential; it allows the flavors to meld and makes cutting the dessert easier without it crumbling. Serve it warm or at room temperature with your favorite fruit or yogurt topping for an extra treat!
Homemade Dessert Variations & Substitutions
Feel free to play with these ideas and make this delicious dessert uniquely yours!
-
Whole Grain Flour: Replace all-purpose flour with whole grain for added fiber and a nutty flavor. It’s a thoughtful twist that enhances the health benefits!
-
Vegan Eggs: Substitute eggs with flax eggs (1 tablespoon flaxseed meal mixed with 2.5 tablespoons water per egg) for a plant-based alternative. This brings a unique texture while keeping it fluffy.
-
Sugar Alternatives: Use honey, maple syrup, or your favorite sugar substitute to reduce the caloric impact. It adds a different sweetness that can complement various flavors beautifully!
-
Spiced Up: Mix in spices like cinnamon or nutmeg for a warm flavor profile. Not only does this tantalize your taste buds, but it also brings a cozy feel to your dessert.
-
Zesty Kick: Add citrus zest (like lemon or orange) to the batter for a refreshing zing that brightens the dessert beautifully. The hint of citrus can elevate the flavors to new heights!
-
Nutty Delight: Stir in chopped nuts such as walnuts or almonds for added crunch and texture. This brings a whole new layer of flavor while also boosting the nutritional value.
-
Chocolatey Indulgence: Fold in mini chocolate chips or cocoa powder for a chocolaty twist. This irresistible addition makes the dessert even more decadent!
Pair this dessert with some fresh fruit or a dollop of yogurt for a delightful, guilt-free treat. If you’re seeking other ideas, I recommend trying out my Cloud Cake Dessert or the festive Patriotic Star Dessert for more tasty adventures!
Expert Tips for Guilt-Free Homemade Dessert
• Use Room Temperature Ingredients: Make sure your eggs and butter are at room temperature for a smoother batter and better incorporation, enhancing your homemade dessert’s texture.
• Avoid Over-Mixing: Gently combine the ingredients, especially when adding the flour; over-mixing can lead to a dense texture that’s not what you want for a light dessert.
• Check for Doneness: Use the toothpick test around the 30-minute mark; it should come out clean indicating your Guilt-Free Homemade Dessert is perfectly baked.
• Let It Cool Completely: Always allow the dessert to cool in the pan for at least 10-15 minutes; this helps it solidify and prevents crumbling when you slice it.
• Store Correctly: Keep leftovers in an airtight container in the refrigerator to maintain freshness for up to a week, making your homemade dessert last longer!
Make Ahead Options
These Guilt-Free Homemade Desserts are fantastic for those busy weeknights when you want a sweet treat without the hassle! You can prepare the batter and refrigerate it up to 24 hours in advance, ensuring a crunch time is cut down considerably. To maintain quality, store the batter in an airtight container to prevent any drying or absorption of odors from the fridge. When you’re ready to bake, simply pour the chilled batter into your greased baking dish and add a couple of extra minutes to the baking time, checking for doneness with a toothpick. This way, you’ll enjoy a delicious homemade dessert that’s just as delightful, but with minimal effort!
How to Store and Freeze Homemade Dessert
Fridge: Store leftovers in an airtight container for up to a week to keep the dessert fresh and moist.
Freezer: For longer storage, wrap individual portions tightly in plastic wrap and then place them in a freezer-safe bag. They can be frozen for up to 3 months.
Thawing: To reheat, thaw in the fridge overnight and warm up in the oven at 300°F (150°C) for about 10 minutes. Enjoy the deliciousness of your homemade dessert once more!
Room Temperature: If serving immediately, the dessert can sit out for up to 2 hours. Any leftovers should be refrigerated to maintain freshness.
What to Serve with Guilt-Free Homemade Dessert?
Imagine gathering your loved ones around the table, ready to savor every delightful bite of this light and fluffy treat.
-
Fresh Berries: The natural sweetness and vibrant colors of strawberries, blueberries, or raspberries elevate your dessert, providing a refreshing contrast that enhances every slice.
-
Light Whipped Cream: A dollop of airy whipped cream adds a creamy texture without overwhelming the dessert’s lightness. It’s a classic pairing that never goes out of style.
-
Greek Yogurt: For a tasty twist, serve with a spoonful of Greek yogurt. Its tangy richness balances the sweetness, turning this homemade dessert into a healthy indulgence.
-
Sliced Bananas: Soft, sweet bananas add a comforting, tropical note that complements the dessert without adding too many calories. A sprinkle of cinnamon can further enhance their flavor!
-
Citrus Zest: Brighten up your dessert with some fresh lemon or orange zest. It not only freshens the palate but also adds an aromatic complexity that will surprise your guests.
-
Herbal Tea: Pair your dessert with a soothing cup of herbal tea, like chamomile or mint. The warmth and aromatic notes blend harmoniously, enhancing the overall dessert experience.
Elegant yet simple, these suggestions transform your Guilt-Free Homemade Dessert into a complete meal that everyone will cherish.
Guilt-Free Homemade Dessert Recipe FAQs
How do I know if the ingredients are ripe and ready to use?
Absolutely! When selecting ingredients like eggs and butter, ensure they are fresh. Check the eggs for a clean shell and expiration date. For butter, look for a smooth texture without any discoloration, and make sure it’s within the use-by date. As for vanilla extract, it should have a robust aroma and a deep color, signaling freshness.
What’s the best way to store leftovers?
I recommend storing your Guilt-Free Homemade Dessert in an airtight container in the refrigerator. When properly stored, it will last for up to 7 days! This helps to lock in moisture and keep the dessert fresh. Just be sure to let it cool completely before covering to avoid condensation.
Can I freeze this dessert, and how?
Yes, you can freeze this delicious homemade dessert! Wrap individual portions tightly in plastic wrap, ensuring there’s no air trapped, and then place them into a freezer-safe bag or container. They can be frozen for up to 3 months! When you’re ready to enjoy, thaw in the refrigerator overnight and warm in a preheated oven at 300°F (150°C) for about 10 minutes to revive the delightful taste and texture.
What if the dessert turns out dense or flat?
Very! If you find your dessert has a dense or flat result, it could be due to over-mixing during the batter preparation. Make sure to mix until just combined when adding the flour. Also, a key point to remember is to always check that your baking powder is fresh—it should bubble when mixed with a little water. If it doesn’t, it may not perform its leavening magic, leading to a less-than-fluffy texture.
Are there any dietary considerations for allergies?
Definitely! This Guilt-Free Homemade Dessert can be adjusted for various dietary needs. If you’re looking for a vegan option, simply replace the eggs with flax eggs (1 tablespoon of ground flaxseed mixed with 2.5 tablespoons of water per egg, let sit for 5 minutes). For gluten-free, use almond or coconut flour instead of all-purpose flour. It’s also wise to check ingredient labels on sugar substitutes and milk alternatives to ensure they meet your dietary restrictions.
Is this dessert suitable for pets or young children?
While this Guilt-Free Homemade Dessert is a healthier choice, it’s still made with sugar and other ingredients that may not be suitable for pets, especially dogs. Always consult with your veterinarian before offering any human food to your furry friends. For young children, take note of any allergies they may have to eggs or dairy based on the ingredients used.
Guilt-Free Homemade Dessert You'll Crave Again and Again
Ingredients
Equipment
Method
- Preheat your oven to 350°F (175°C) and prepare your baking dish.
- Cream sugar and butter together until light and fluffy.
- Incorporate the eggs one at a time, beating well after each addition.
- Stir in the vanilla extract until fully blended.
- Combine the flour and baking powder, then alternately add this with the milk to the creamed mixture.
- Pour the batter into the prepared baking dish and spread evenly.
- Bake for 30-40 minutes or until golden brown and a toothpick comes out clean.
- Cool in the dish for 10-15 minutes before serving.
Leave a Reply